That’s why we do trial runs, good call on saving the high dollar beans!
1 Like
I insulated my outdoor shed, put a grow tent in it and automated everything with a temperature/RH wireless tag sensor that turns on/off wemo plugs for inline fan/space heater/AC/humidifier. Took me a couple months to get it all set up properly, but it’s an awesome setup now. Highly recommend using a wireless tag.
Luckily, there are 2 crawl space vents in the shed because it was built against the exterior of the house after the fact. I use one to exhaust AC and the other to exhaust the inline fan. It was almost too perfect that there are 2 vents in there!
2 Likes
This is amazing, love it.
2 Likes
Pretty interesting setup, sounds really cool
1 Like
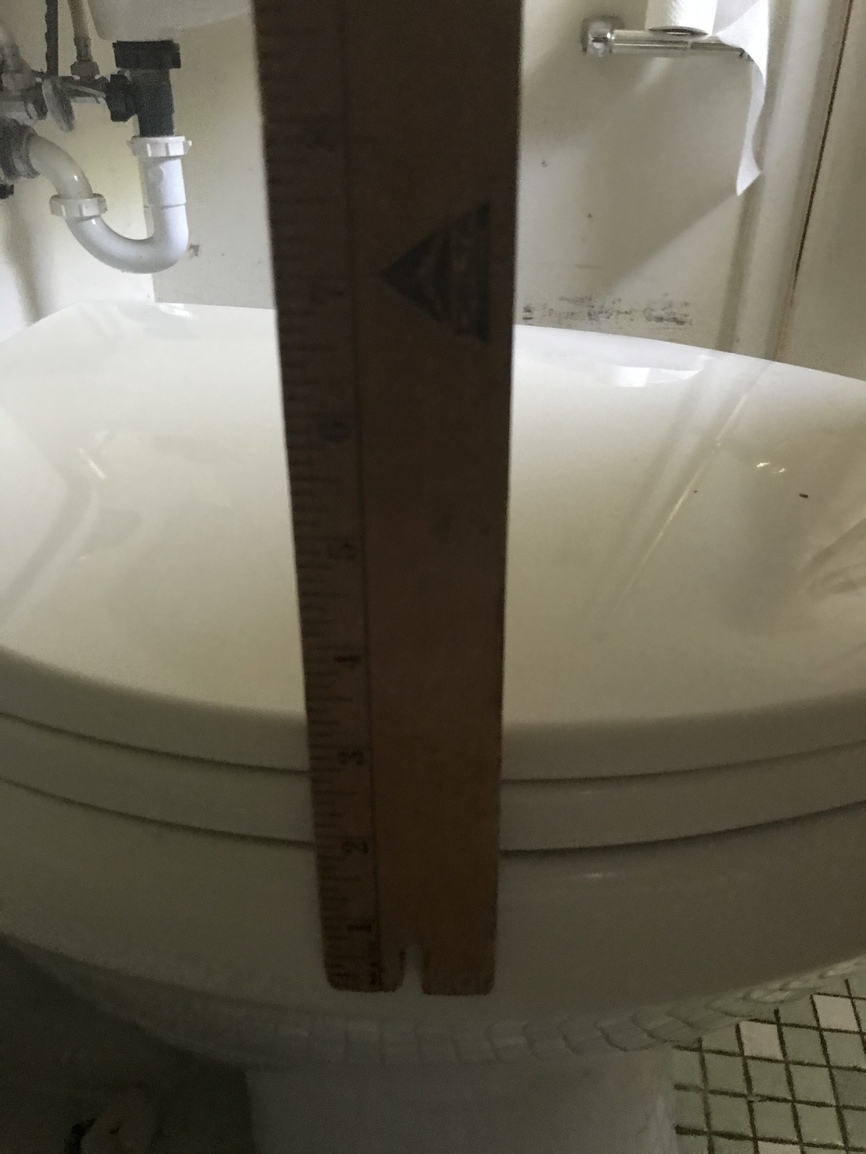
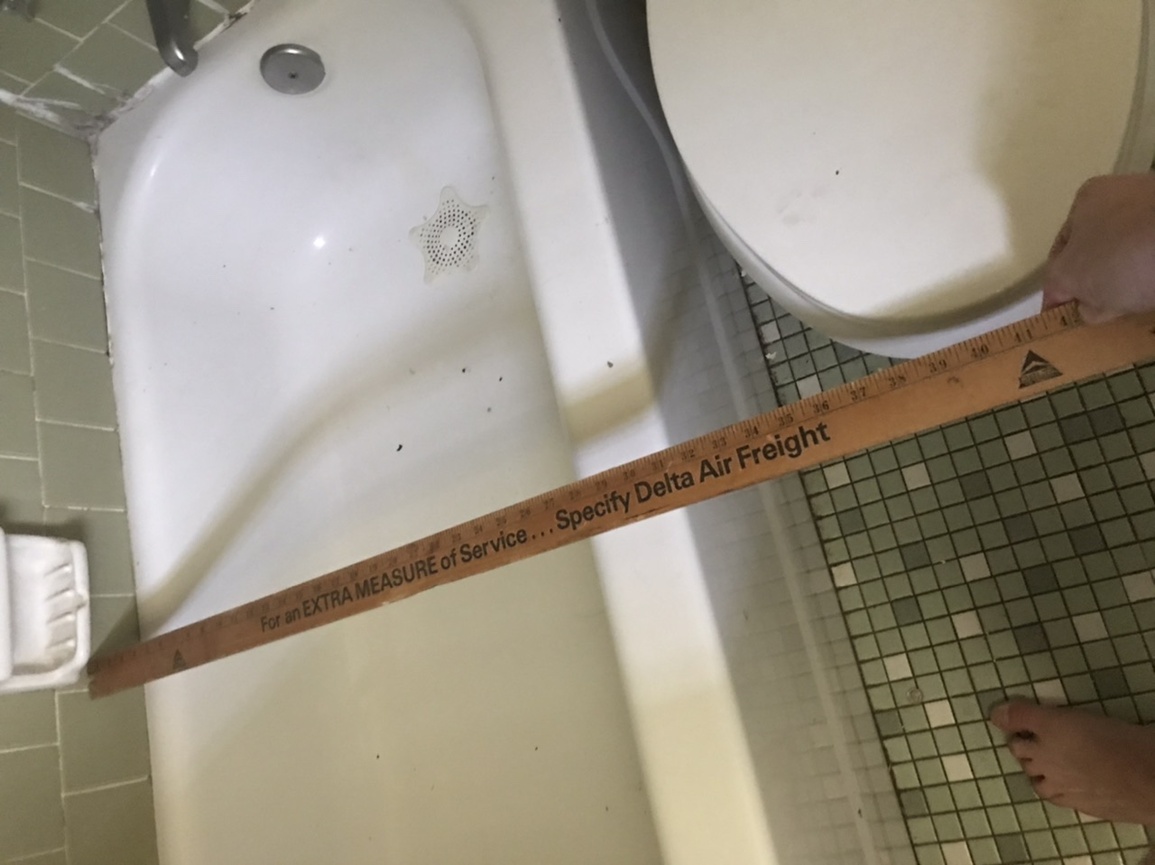
Hello my fellow grow mates and hillbilly architects. I need some of your expertise with my own rig set up as a first time grower (auto) who’s now just waiting on the seeds to show from ILGM. Unfortunately, I don’t have the ability of some of these growers with their BA setups and hidden rooms seen above. Rather, I just need something simple and easy to take take down if necessary(if possible). Below is the equipment to be hooked up. Gonna be doing a master bathroom grow. There’s no outlets in the bathroom, so I have to run an extension cord from my room to the bathroom. This is a super small space that I’m trying to fit the grow tent in and basically my toilet will not be poopable while the tent is up. (Biggest downside)
My thoughts: use a 3.5x3.5 board and anchor it to the wall. The toilet sits 2-3in above the tub. Eight ft ceiling. Everything is going to sit anchored 3-4 in above the tub lip somehow, but will have to be anchored against the wall and above the toilet for clearance. I just don’t know how I will safely and securely lock the back of the board to the wall to brace it yet because of the wall tiling and toilet positioning.
Ive already got a bunch of extra light hooks that hold 150 lbs each so I figured I could use those as the anchor ropes from the board to the hooks in the studs.
What do you guys think? Any better ideas? Tips and tricks? I know the bathroom can be a wet place so I do want to take safety into mind as well. Any advice on setup/discreetness/ safety is much appreciated. I’m not handy in this way lol.
Equipment:
3x3x6 grow tent
1500w phlizon cob
4in adjustable Exhaust fan
Humidifier
Dehumidifier
Heater
Anything I’m missing?


1 Like
Hey @Caseybmh, looks like you got your hands full, but you found the right forum to get help. I would suggest you start a new thread, and copy your above post into it. Many more people will probably see it if you do it that way. Feel free to tag me and others from this post. Just use the @ symbol before their name.
So, aside from surrendering your right to poop, electric is what would concern me first. Your bedroom most likely has a 15 amp circuit that’s shared with other parts of the home for outlets and possibly lighting. You might be fine, if the circuit is not being heavily used, but I would plan on maybe needing to find 2 outlets from 2 different circuits, but this depends on how much you will draw. Not sure on the actual power consumption of that light, but if it’s anywhere near 1500w (probably is not), then a second circuit would likely be needed.
I would suggest a dry run before you start any seeds. Plug in your light, the exhaust fan, at least one fan for air circulation inside the tent, and the dehumidifier. If this all runs without tripping a breaker, then move forward.
Good luck with everything, and let me know how you make out. Many people here who will help any way they can!
1 Like
@Cap_Ron Hey thanks a lot! These are the kinds of pointers I need for sure. I’ll try and start a new thread for views like you said. Seems I’ll be posting the the whole grow as well so stay tuned. Going to grow 4 Northern light autos.
1 Like
Are you planning to still use your bathroom? If not just use the tub for a simple hydro setup, Hang lights using those hooks you mentioned to adjust up and down for growth. That’s the first thing that pops to mind
1 Like
Also quick lesson in patience, I earlier posted my seed didnt make it and had given up. Today I saw this

1 Like
@tchop134 It’s still the plan for the bathroom and I have thought about a hydro setup as I dream of the bigger yields, but I want to have the most controllable grow I can and I’ve already invested in the tent. As a first time grower of cannabis I’m nervous about things I know little about. I’ve always grown in soil. But I do have aspirations to grow hydro as stated maybe after a few cannabis grows in soil. Plus my budget is spent after $1300 in all supplies. I don’t to change the plan at this point lol. Hydro would be a little more discreet not having to deal with the tent setup and takedown if needed.
1 Like


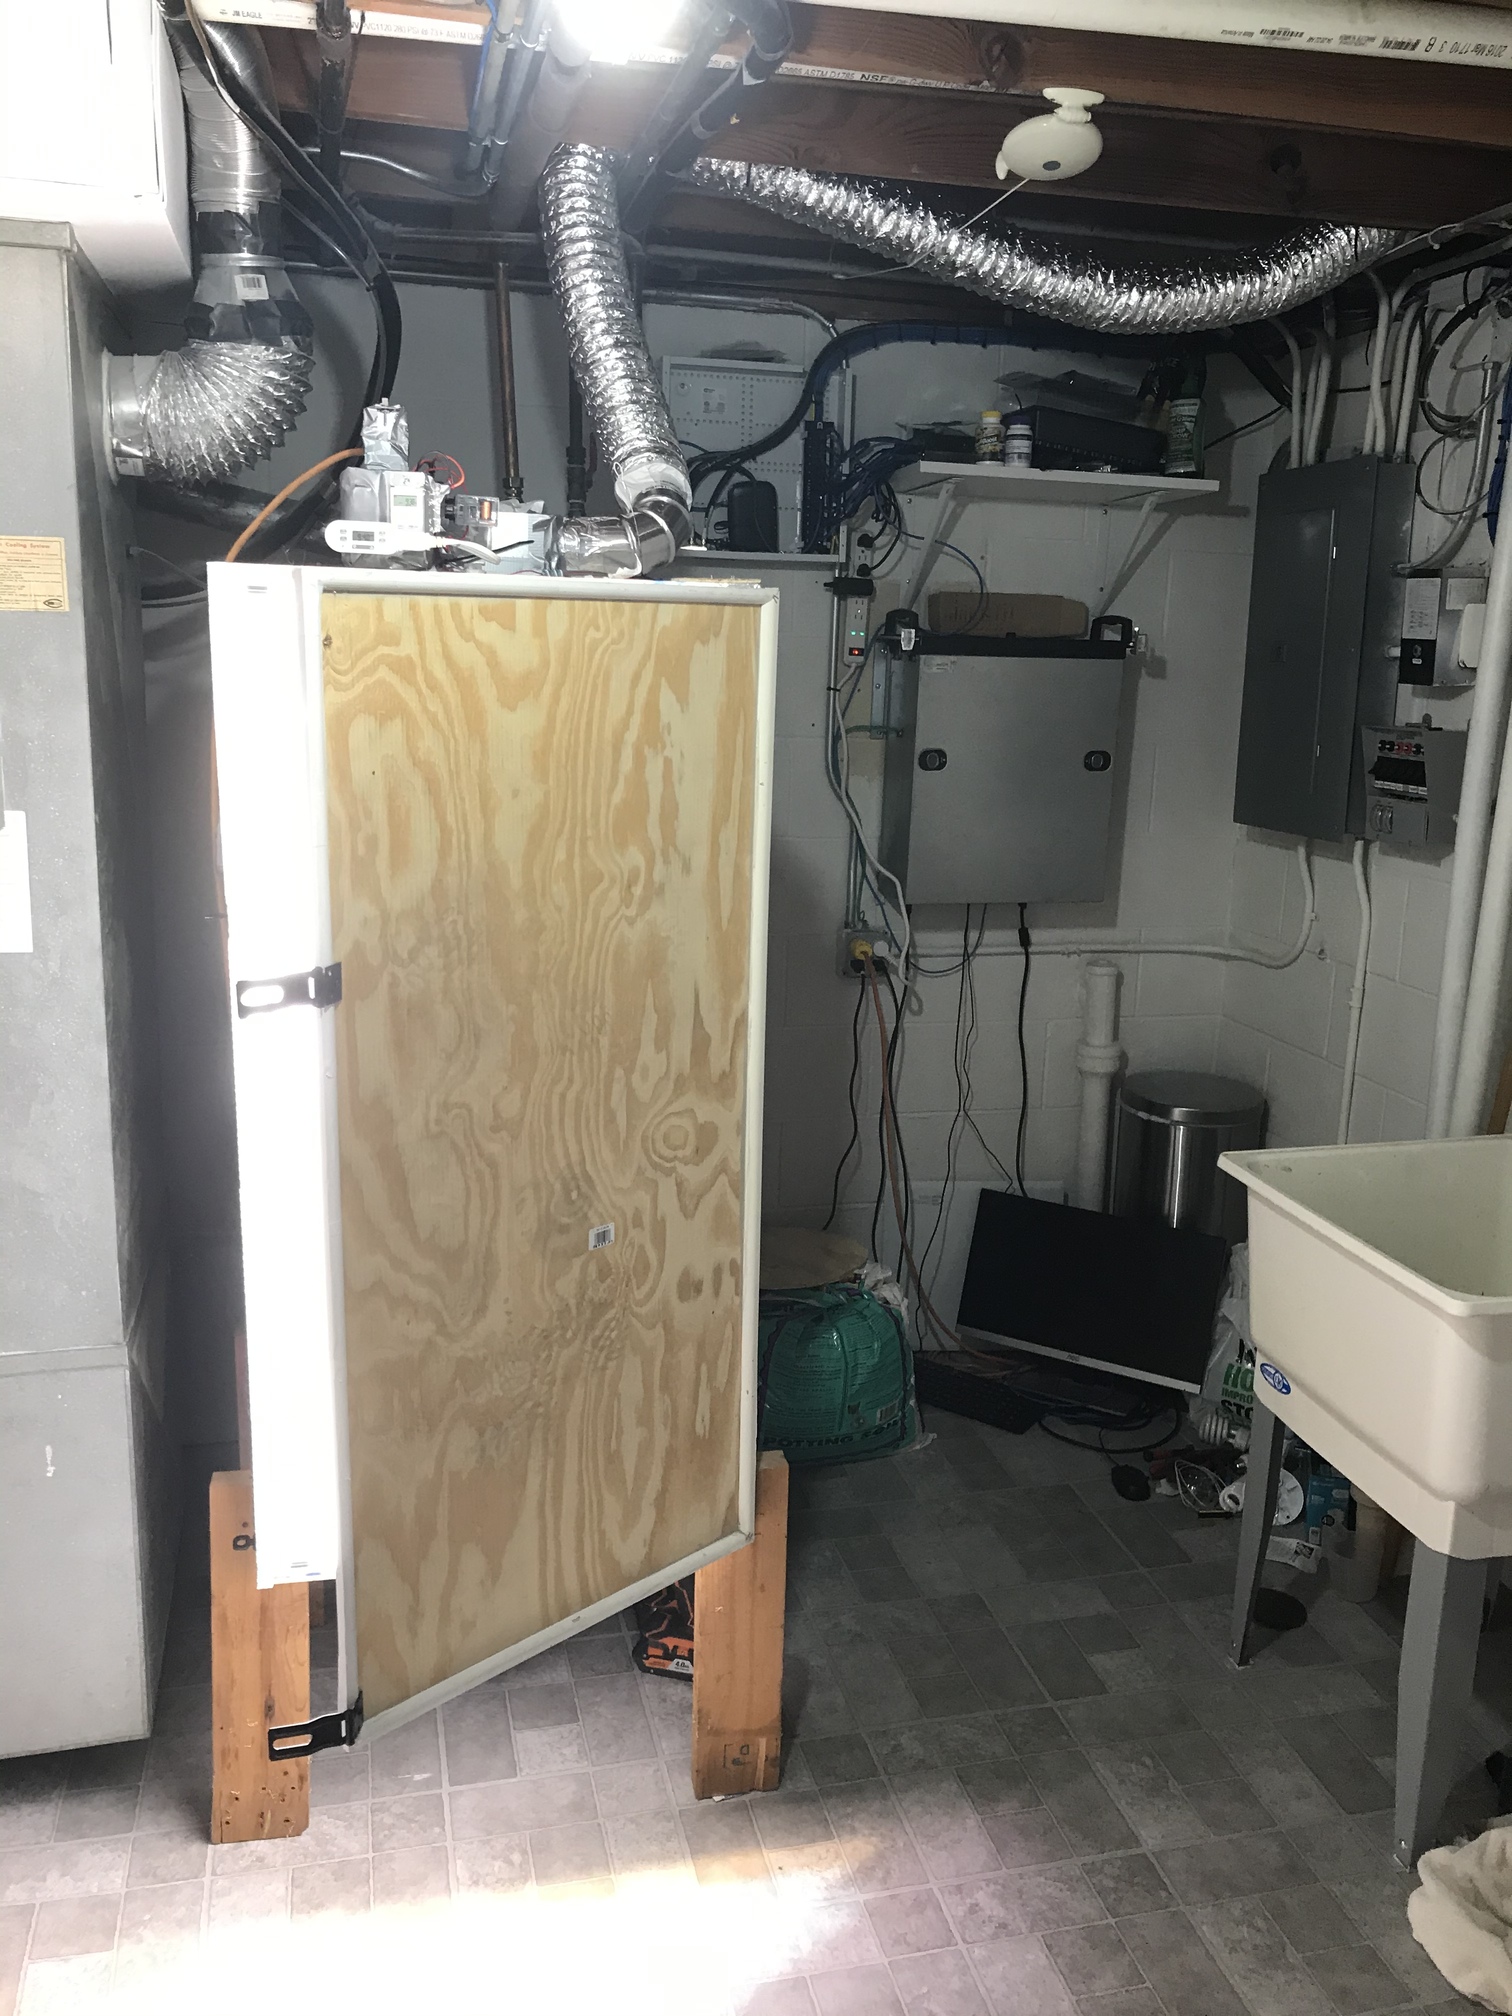
Made some changes to the original grow box, but the little seed is going and so is the home built box
3 Likes


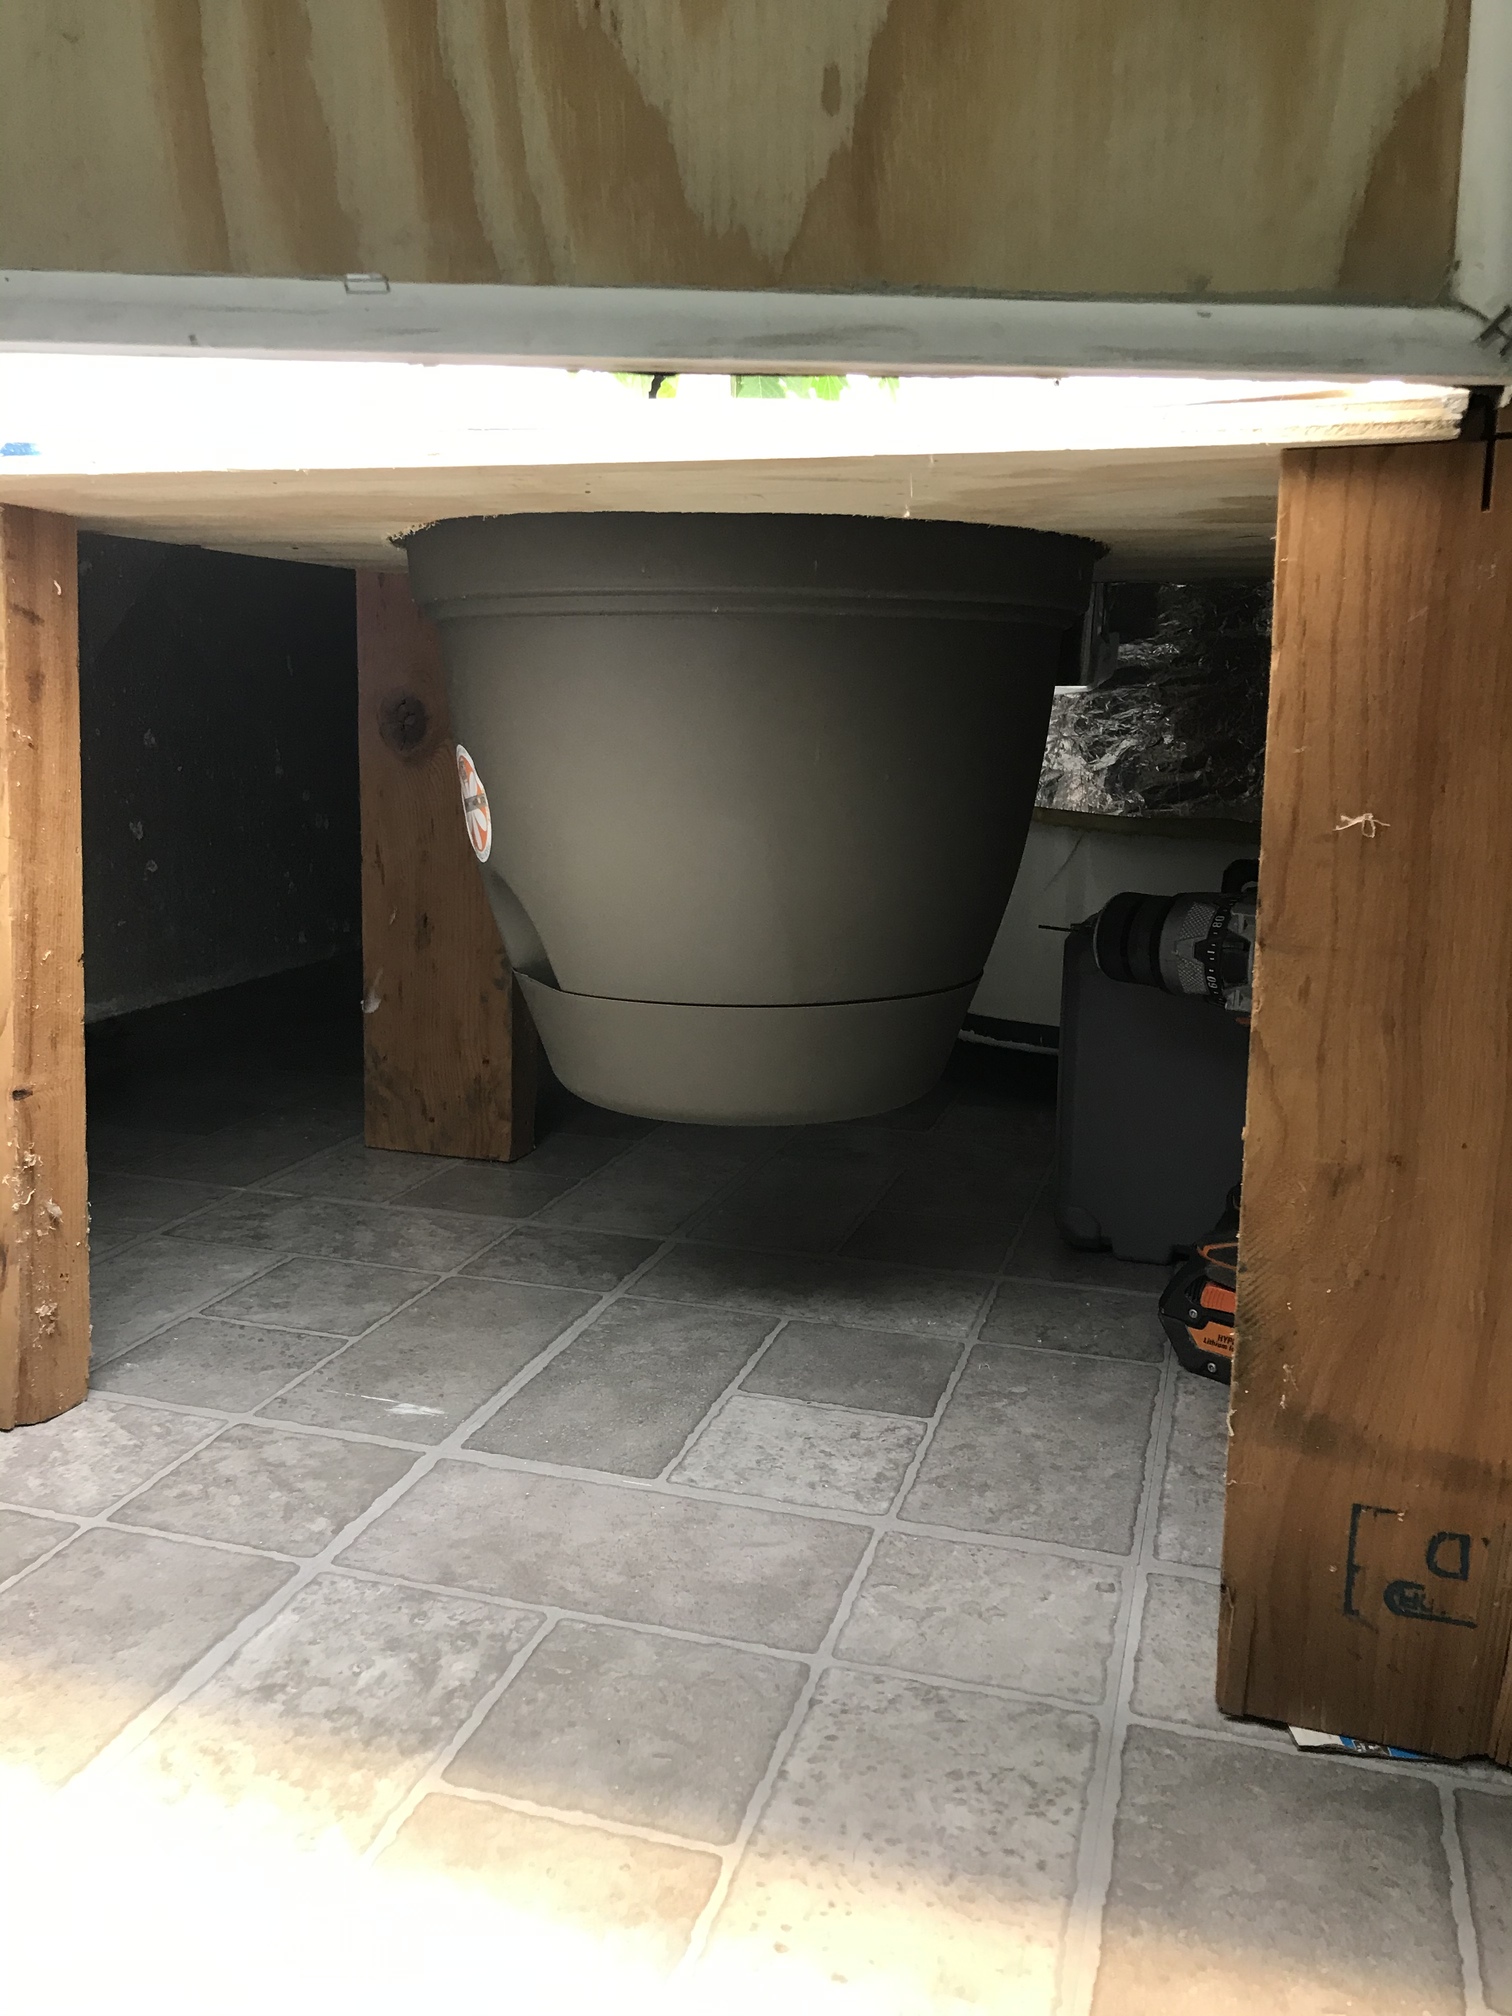
My whole grow area is hilljack style ![]()
4 Likes
The whole point was to build something with crap from the garage… old school if you will😉
Backwood engineering at its finest, another 2 months or so and we’ll see if it grows good buds
3 Likes
A little update on this old post, the home built grow box is still kicking and I’m a few weeks away from my first harvest!


To anyone who might be checking this out, It’s with great pride that I say this was accomplished WITHOUT amazon, without ordering from the internet. Just hard work, creativity and a lot of patience. But you can absolutely grow your own buds at home with nothing more than a little effort. Shop local, it takes more effort but it supports your community and the folks you live with. Don’t get sucked into the convenience of wiggling your thumb across a 4 inch lcd screen and waiting for a knock on the door. Nothing good or long lasting is EVER possible without effort!!
Ok I’m off my soapbox, keep growing, keep smoking and keep your fellow Americans working.
4 Likes
Love ur attitude towards life and the people around you. Glad to see we have people who actually care about other humans and their well being. Cant wait to hear good words from u all on my future posts.
1 Like
Thanks brother, I abandoned this post a long time ago and started a new grow journal, I will tag you if you want to read through it. I just harvested my plant tonight, that I grew in that very box. It was never about money, I could’ve bought the whole deal of amazon no problem. Except for amazon, I’m a union electrician and there’s no room in my heart for Amazon or anything like it, Amazon makes one man filthy rich while consuming all the small shops that built the community of American life as we know it, the mom and pop stores. Anyway… I get carried away easy specially when I’m really high ![]()
![]()
This is my first time growing so I don’t know how it will turn out. I studied everything I could get my hands on before I purchased anything. I did a lot of research and some of the setup may be controversial… I never would have imagined there was so much controversy in growing weed, there appears to be. A link to my journals with pictures of my trials and tribulations (and success so far) is at the very end. My setup is 3/4 hillbilly and 1/4 geek. I figure I’ll learn as I go from here.
Grow Room
The grow room is made from ¾” Schedule 40 PVC Pipe frame. Corrugated cardboard boxes lined with black duct tape on the outside and Vivosun Horticulture Highly Reflective Mylar Film (Roll 4’ X 50’ 2 Mil for $32) inside adhered to the cardboard with two-sided carpet tape. The cardboard panels were mounted to the frame using zip ties. Reflective mylar was also placed on the floor of the room. I threw an old bathroom mirror I wasn’t using in the back for good measure. There are two shower curtains hung in front with a white shower curtain facing inside and a black shower curtain to the outside. The white shower curtain should reflect some light back into the room with the black shower curtain absorbing any light getting through the white curtain. It is literally PVC pipe, cardboard, duct tape, zip ties, and a couple shower curtains. Since the room is in a dark unfinished basement it is open at the top (about 1 ft head space to ceiling). This should allow for adequate ventilation without the need for separate exhaust. See the Air/ Temperature Control section. The room is 4’ x 6’ but can be easily expanded with little investment. The room cost about $70 to build. It can be expanded to 12’ x 4’ for an additional $20.


Moisture Control and Watering
Humidity in the room is controlled by a Vremi 3,000 Sq. Ft. Dehumidifier ($280) for the 700 Sq. Ft basement where the grow area is located. The dehumidifier sits just outside the grow room. A Moistenland Automatic Drip Irrigation System ($48) is fed directly from the dehumidifier reservoir. Both duration and interval of watering is controlled. The ¼” dripper line feeds through the wall of the grow room. The moisture collected out of the air is used to automatically water the plants. No other water source is used. The water from the dehumidifier is about 6.1 pH with 65 ppm total dissolved solids (before nutrients). Nutrients are added directly to the dehumidifier reservoir each week as required. The dehumidifier is thoroughly cleaned and sanitized between each grow… including the filters. See Air/ Temperature Control for how mold and bacteria are controlled.

Air/ Temperature Control
The grow area is in a 700 sq ft unfinished basement. The home HVAC system is also in this space. The temperature remains consistent between 70 and 75 deg F. (21-24 deg C.) outside the grow room. Inside the grow room remains between 70 to 80 deg F (21-27 deg C.) depending on the time of day and whether the lights are running. There is about a 10-degree difference between lights on and lights off. There is no need for extra temperature controls. There is a Pure Enrichment PureZone Air Purifier - True HEPA Filter ($100) with a 3-stage filter that includes activated charcoal to reduce odors. The filter is rated for 200 sq ft so it should be enough for the 24 sq ft in the grow room. The air purifier is placed on the floor. It brings in air from the grow room blowing the filtered air up from the top of the unit. The fan in the purifier is set on high and expected to be the only thing needed to move air, eliminate mold and bacteria, and provide odor control in the room. The air purification filter is changed out for each grow. Again, the top of the grow room is open, so ventilation should not be a problem. I have a coffee can with hole punch in the lid Ona Gel Pro inside to help control odor along with a Earth Care Janitorial and Industrial Odor remover hung inside the room.
Lighting
The 6’ x 4’ grow room has 2 WHOSLED LED 1200W (230w actual) Dual Switch Dual Chip Plant Lamps ($110 ea) attached to floor joists above the room with a rope. They have blue, red, and full spectrum settings. They can be easily adjusted for height. There are also 2 Relassy 200w (45w actual) Full Spectrum Grow Lamp, Dual Head Gooseneck Plant Lights ($30 ea) used. Put another way, there are 4 100w full spectrum LED that can direct light as needed under the plant canopy. All lights are connected to a timer. Light cycle matches natural day/ night cycle.
Soil and Planting
The first grow with this setup is 3 autoflower plants (Bubblegum, Jack Herer, and OG Kush). A 6’ x 4’ grow room should be plenty of room for 3 plants. They are planted in JERIA 7 Gallon, Plant Grow Bags (12 for $26) with Hydrofarm 14” plant saucers (10 for $41) under them. The soil is a 50/50 mix of Miracle Grow Potting Soil and Miracle Grow Garden Soil. About 2 oz of Summit Mosquito Bits - Quick Kill (30 oz for $17) was incorporated into the top 3 inches of soil in each grow bag. This should control gnats and other soilborne insects. Plants were started in rapid rooter and seedling trays for the first 10 days before being transplanted directly to the 7 gallon grow bags.
Monitoring Grow Conditions
There are several parameters being monitored during the grow. Soil moisture and light are measured using a Kensizer Soil Tester ($14). The soil mixture used is known to have a 6.5 pH so the water pH is monitored using a Vivosun High Accuracy Pen Type pH Meter ($10). A General Hydroponics pH test kit ($23 includes pH Up and pH Down) is also used for the water pH to ensure accuracy. A Vivosun TDS sensor ($10) is also used on the water. Temperature and humidity inside the grow room are monitored using a Govee Indoor Temperature Humidity Sensor with Bluetooth ($13).
Nutrients
The watering schedule is about 12 oz per day per plant. It will fluctuate between 10 and 15 oz per day depending on soil moisture measurements. For 3 plants that comes out to about 2 gallons per week. Since the fresh soil mixture already has nutrients, the liquid nutrients are added directly to the dehumidifier reservoir once per week at about ¼ recommended strength. Fox Farm Big Bloom, Grow Big, and Tiger Bloom are used per the ratios recommended for growth stage. Used the Fox Farm Feeding Schedule as a guide (1/4 of recommended amount).
Overall Comments
There should be good control on grow room temperature and humidity. There is probably enough light for a grow room twice the size… or twice the plants using about 2800w LED total (600w actual usage). Light leaks are naturally controlled by being in a basement room with no windows and light schedule follows actual day/ night hours (the first grow is all autoflower anyway). The air in the room is purified with good ventilation. Watering is fully automatic with proper pH water and nutrients are added per schedule. The soil is the proper pH starting out in is protected against insects.
Grow room temperature and humidity is continuously monitored and charted via Bluetooth. Soil moisture is monitored daily and controlled through automated dripper settings. Light intensity is monitored and controlled via adjustable lighting. Water pH is measured daily using a probe and titrated weekly to verify accuracy. Total dissolved solids in the water with nutrients is measured daily. The grow journals for each plant can be found here.
5 Likes
I see you have the vremi dehumidifier. I have the 4500sqft model. Man they work good right? I need to hook mine up to a drain hose. I have to dump it several times a day after they get watered. Or rh is 90% outside. I bought a back up the other day. In case something happens to this one. I am just starting flower and need to keep that rh down. Vremi 4500sqft dehumidifier they have a $60 off coupon going.
3 Likes
Yes, the dehumidifier works well. It keeps up in an otherwise damp basement just fine. It takes more water out of the air than 3 plants can use so I have to dump a little out every day. I’m keeping it at 45% to 50% in the room right now for veg (set at 55%). I will drop it down to 40%-45% once in flower.
1 Like