Northern Lights Second Topping Illustrated

I have a grow journal "Northern Lights First Photo Grow going that I will update soon so I guess you can call this an addendum to the journal. As the title to the journal indicates, this is my first photoperiod grow. I wanted to document the process and steps I went through. My goal with the topping is to produce as many bud sites as possible and do it evenly over the entire plant. If things go as desired, four northern lights will fill my 3x3 tent wall to wall - corner to corner while not getting to tall. Optimistic for someone that hasn’t done this before, but what the hell. No turning back now.
Second topping – Northern Lights
The main stem of #2 was topped 5/7. All secondary stems (created from original topping) and all branches below the topped node were also topped. Thereby creating two future bud sites at each topped branch and stem. #2 has two branches below topped node. With this topping, #2 now has 12 future bud sites. (Plant #3 had 3 branches below the topped node and will therefore have 16 future bud sites.)

Below are the individual steps I took (before and after pictures related to each step are so identified)

  1. Removed bottom most leaves.
  2. Removed 2 large fan leaves at topped node
  3. Removed both sets of leaves on secondary branches above topped node
  4. Topped secondary branches
  5. Removed fan leaves on secondary branches – 4 leaves
  6. Top first branches below topped node
  7. Top second branches below topped node
  8. Removed interior leaves
  9. Removed interior bud sites from second branches below topped node


Step 1 Before After
Step 2 Before After
Step 3 Before
Step 4 Before After
Step 5 Before
Step 6 Before hard to see
Step 7 Before
Steps 8 &9
@Newbie2020 @Supajew420 @Myfriendis410 @dbrn32 @BRFarming420 @Hellraiser @MidwestGuy
@Work4iT @repins12

12 Likes

Good stuff. Interested to watch, as I consider myself to be an aggressive defoliator and I always leave 2 to 3 nodes of fan leaves below the tips since they help the plant generate the sugars it needs.

You’ll be surprised by how quickly she fills back in.

1 Like

I’m set to watch as well :+1: :v:

I was a little more aggressive on this one than the others I did today. Wanted to open it up while still leaving enough.

1 Like

Nice, yeah you’re gonna get a lot of tops/buds.

Set to watch

Hopefully can stay on target and do a better job managing nutrients and other issues that come up.

2 Likes

Awesome Job @beardless, Thanks for sharing, I will be watching also. :smiley:

I was kinda thinking of you when I put it together. Thinking at some point you would be going down this road so I thought a quick photo overview would be helpful. Plus you know I like taking pictures

1 Like

Are those trichs off of leaves or bud?

You can delete your post. The window for editing has probably expired.

I will delete it but where / how do I do that?

Found the tool bar - got it

1 Like

I just earned the Editor badge

2 Likes

Nice! Watching

1 Like

Going to follow along. Love the photos along with the explanation too. Grow 2 I am topping the plant for sure. Pics give me more confidence I am not going to F it up.

1 Like

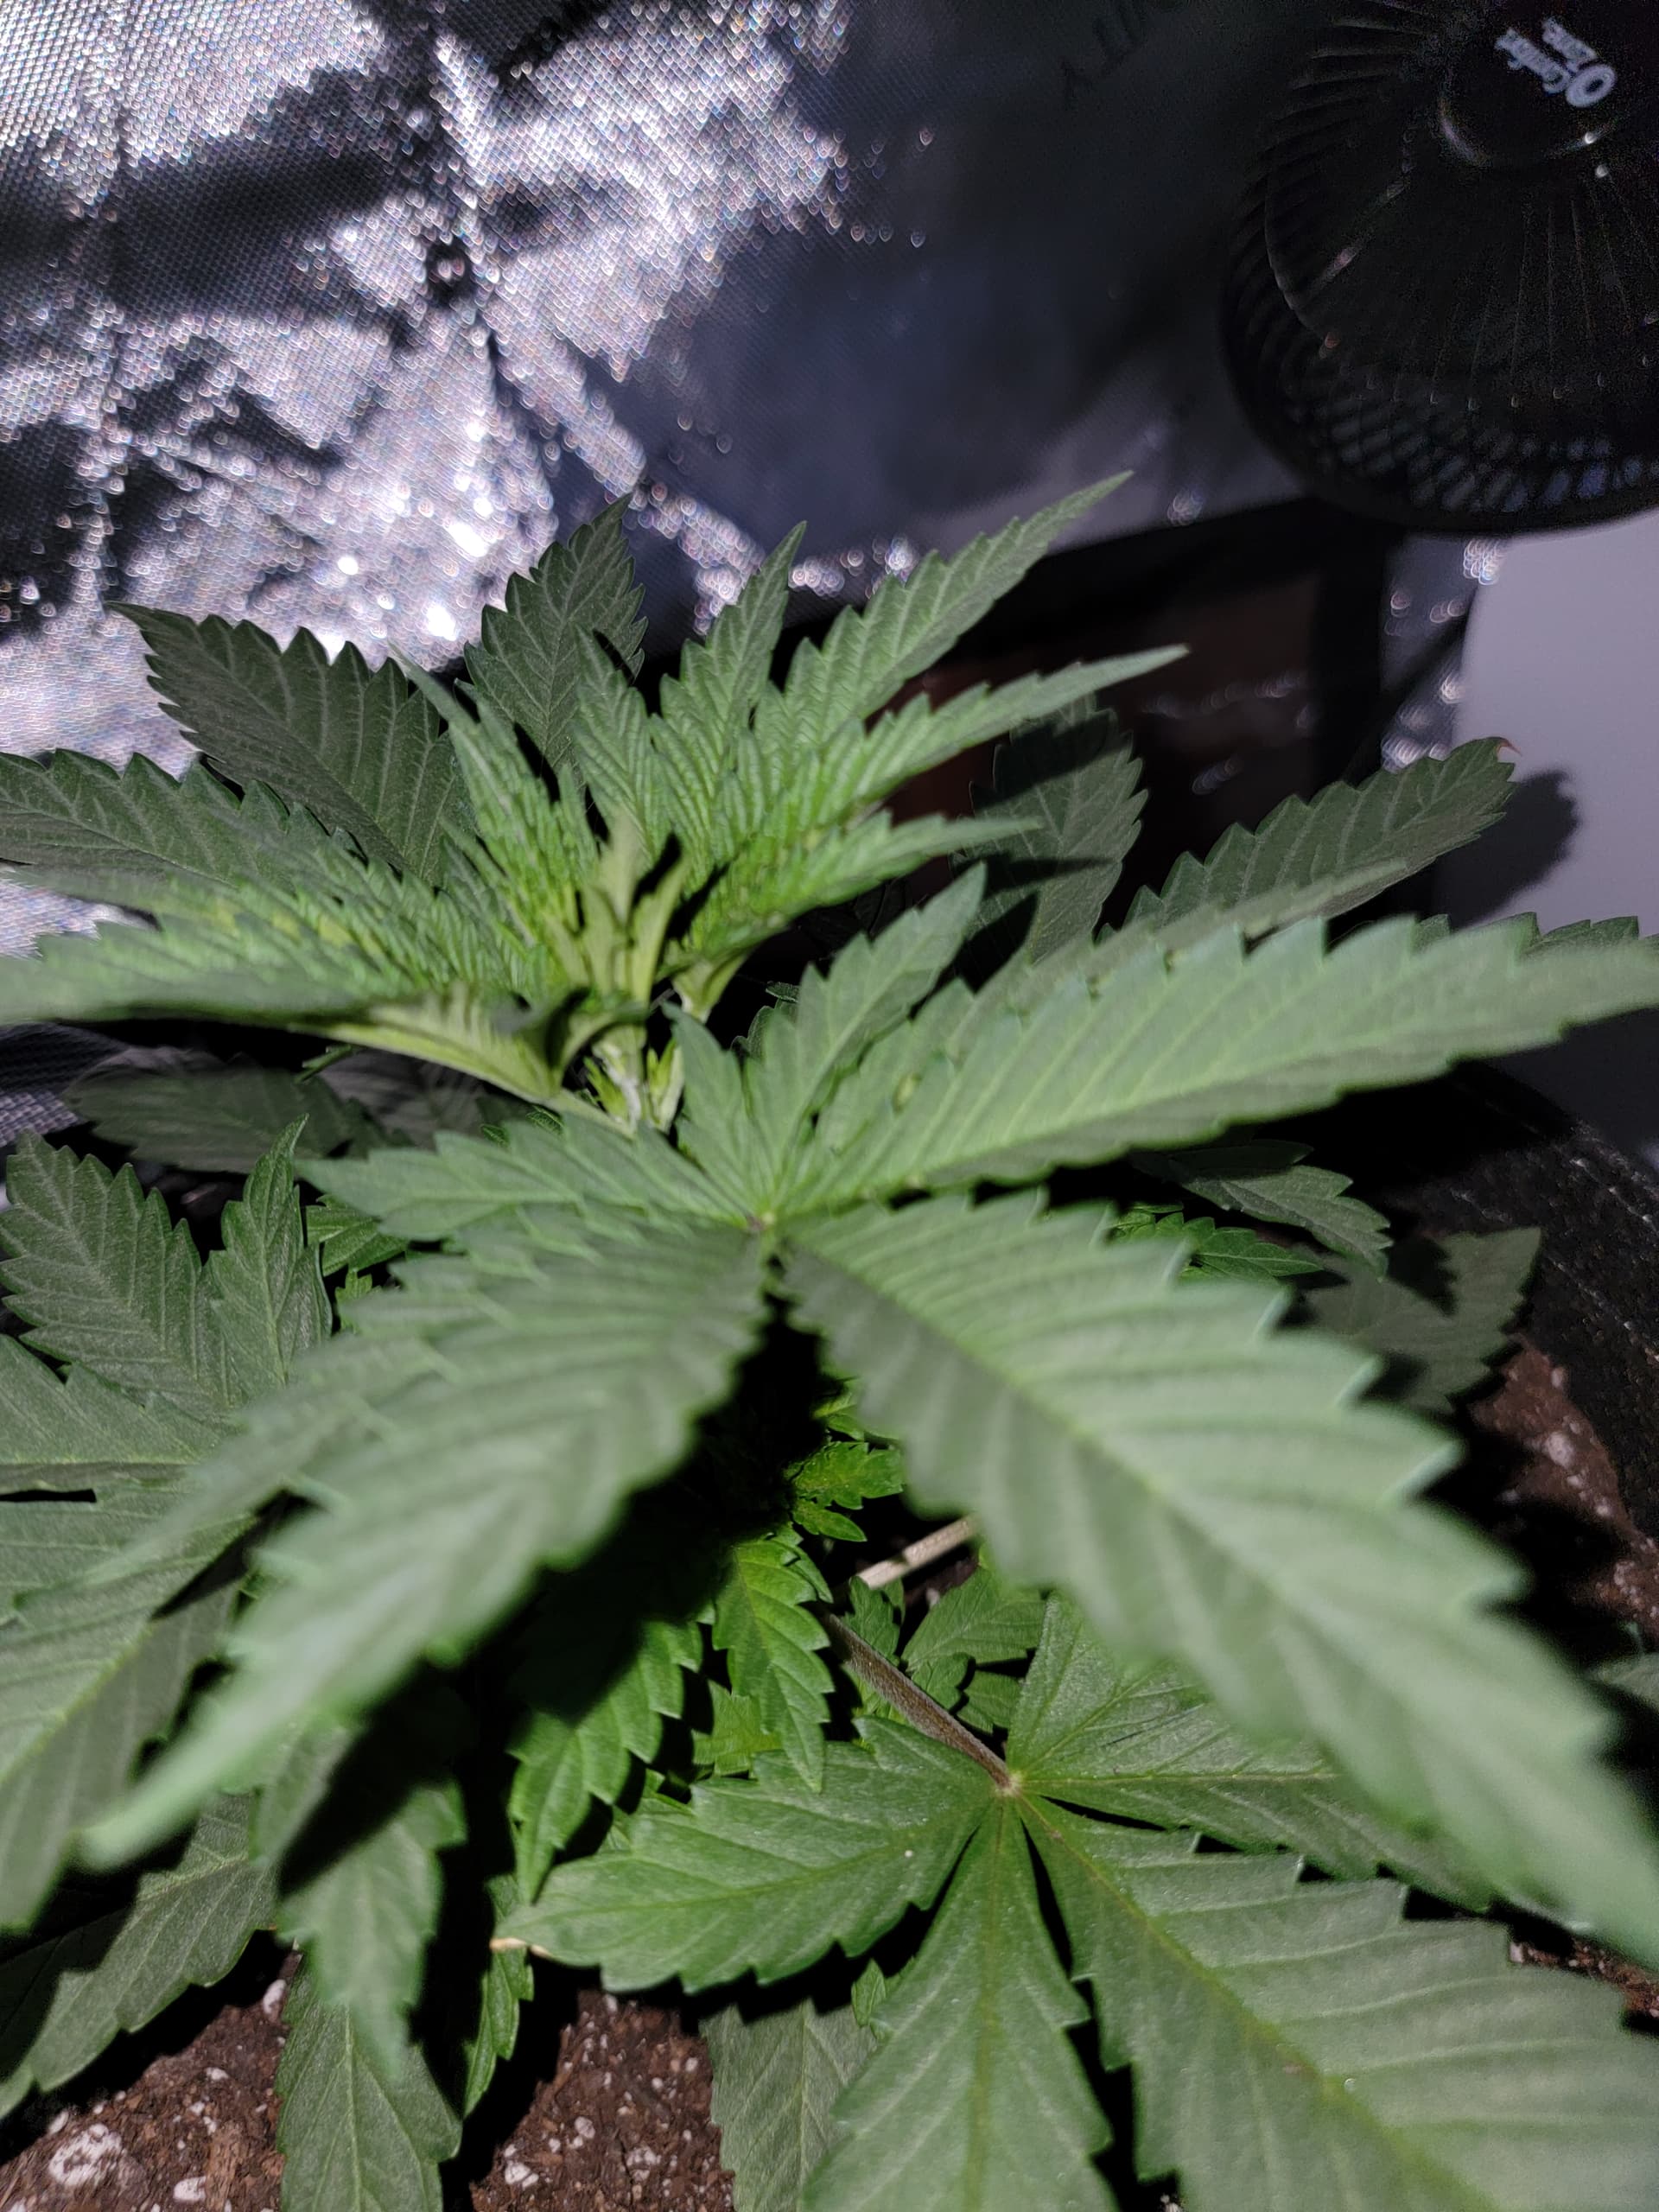
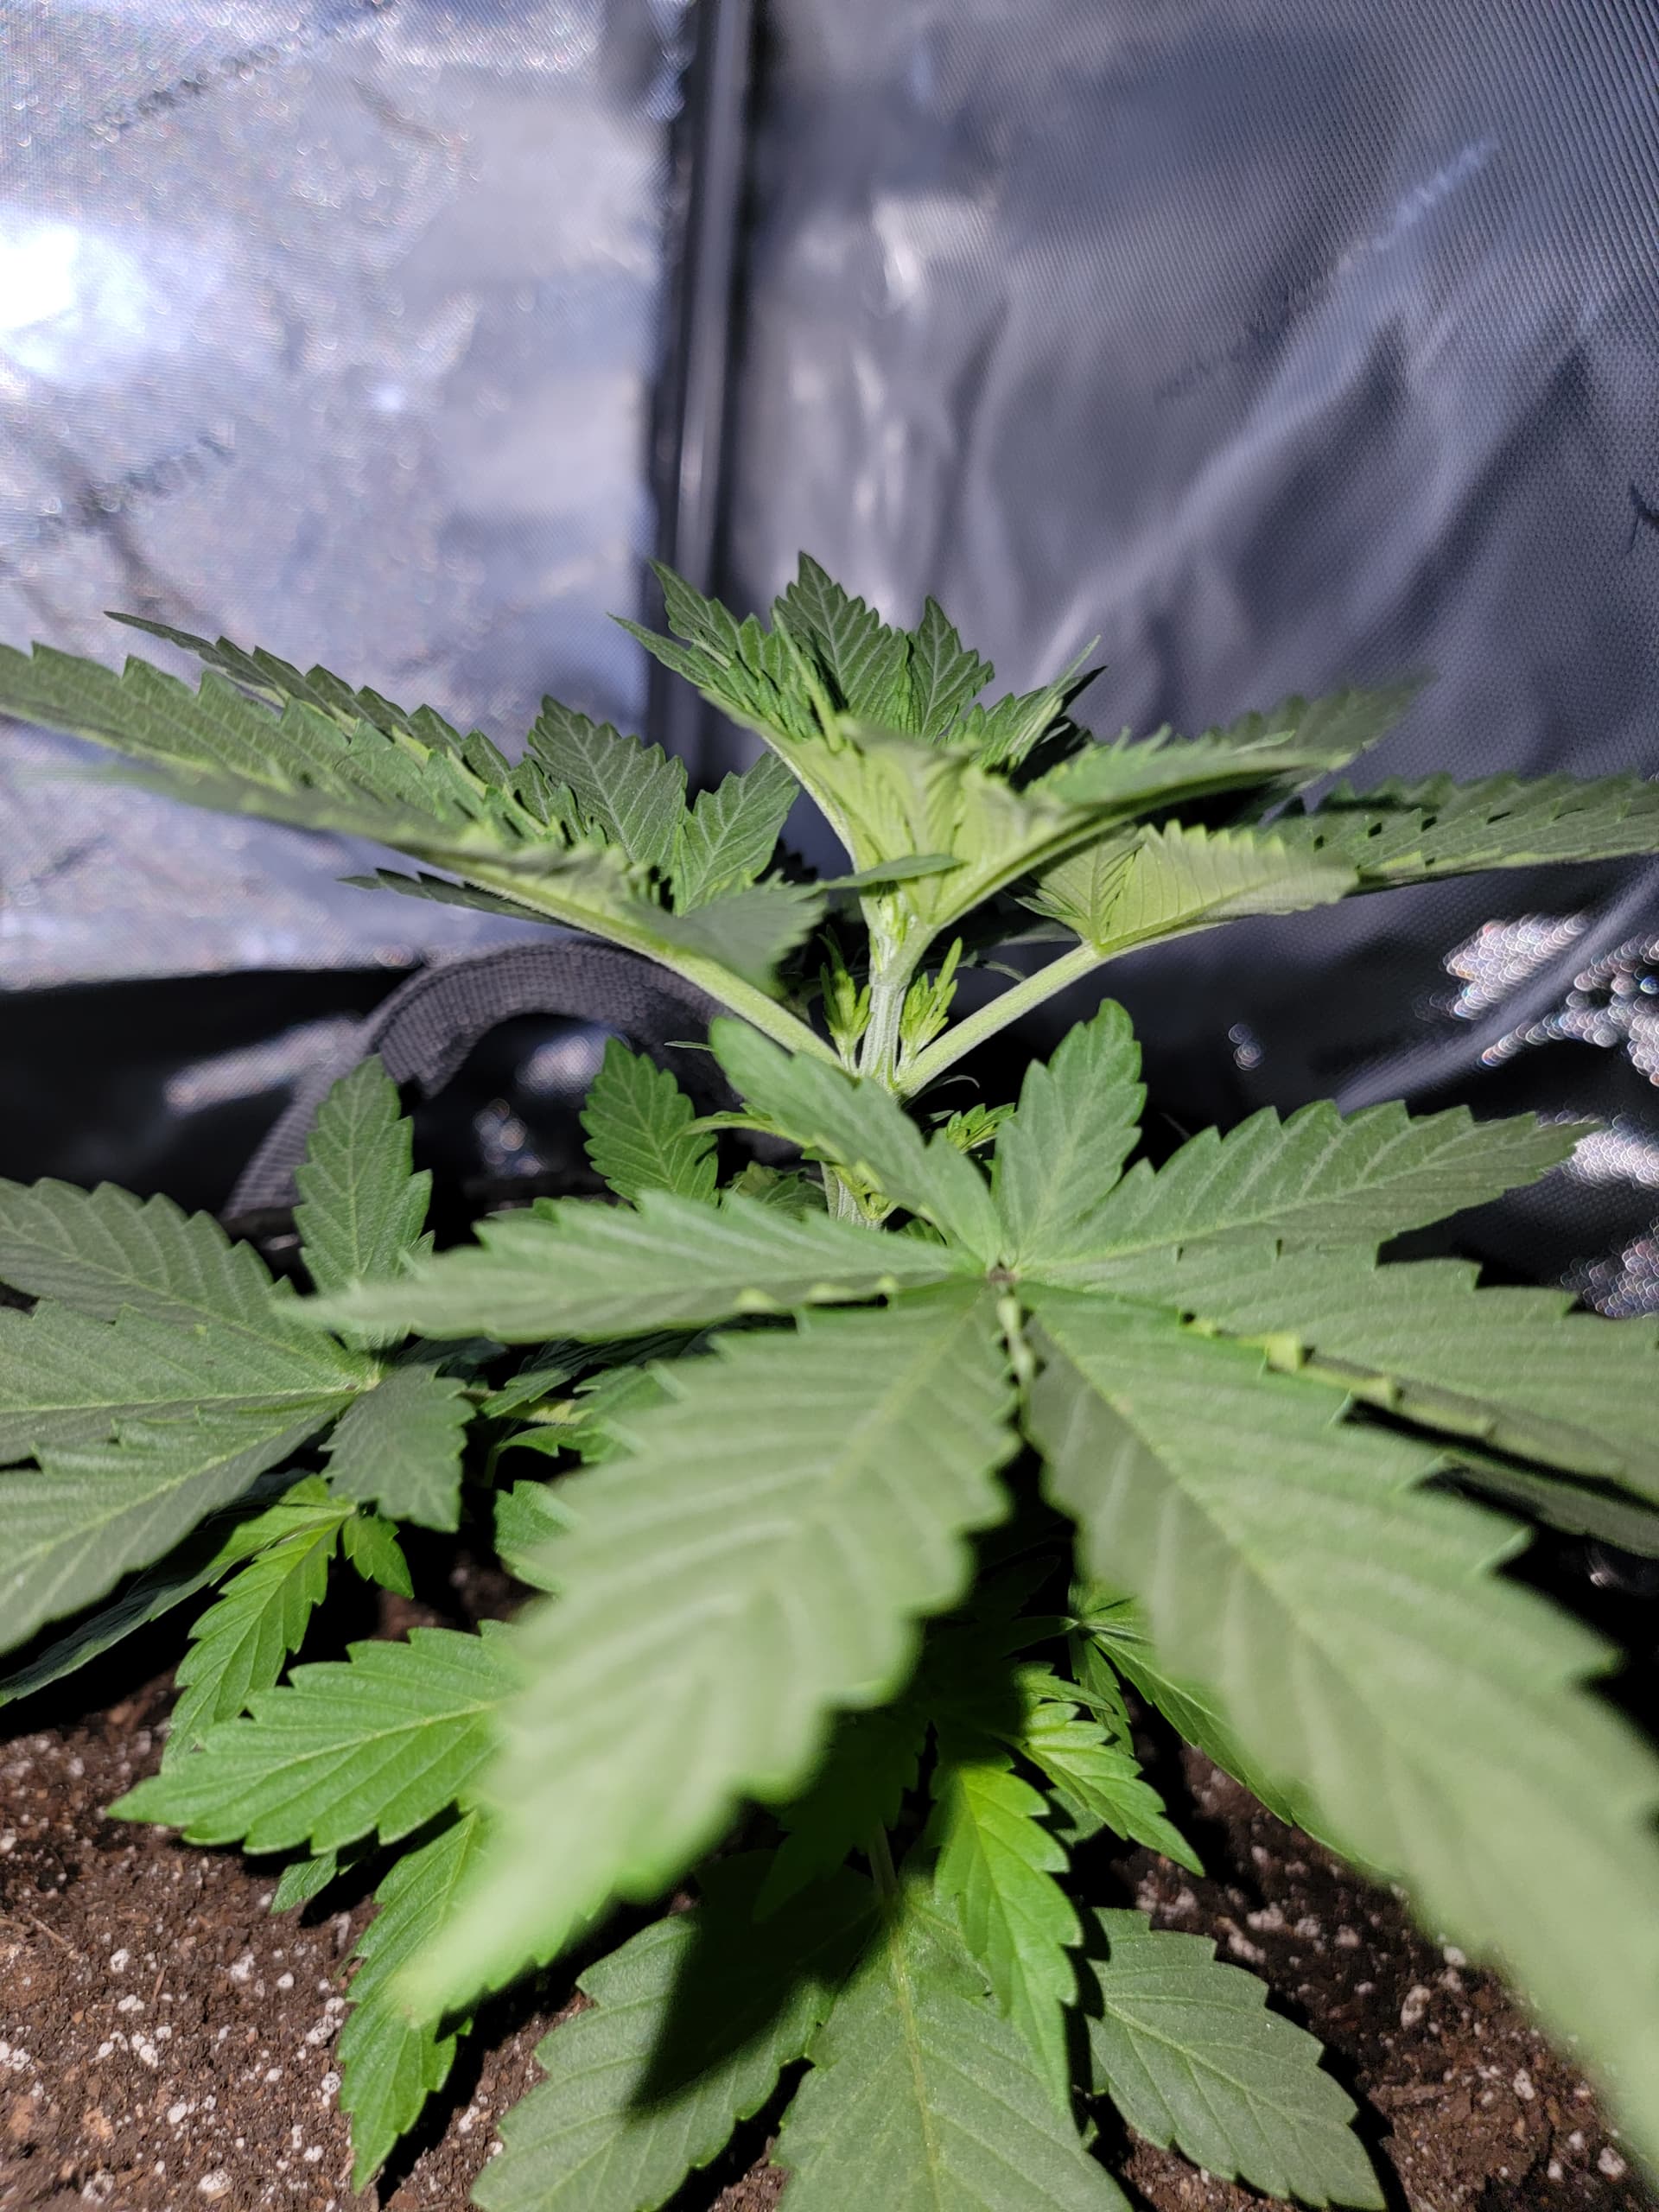
I’m about to top mine for the first time, on my first grow. Growing 2 Headband in a 3x3x6 tent in 3g fabric pots. 6th nodes are sprouted on both… should I clip them now or wait a little longer you think??


1 Like

Sorry for the delayed reply. I have been away for a week and just got back yesterday. If they are 5 or 6 nodes tall they are ready to be topped. Now is also the time to decide where they are going from here. Just a simple topping is straight forward. If you top above the 5th node, on my plants I will also remove the bottom most node. And, more than likely the second set too.


Did my best. :laughing: they seem to be doing well. I didn’t trim any lower nodes off, though. They all seem to be growing well, and the lower ones I tied off to keep them growing outward a little longer to clear the canopy.

1 Like