My First Growth Journal

Hello all this is my first grow.

First off I want to thank everyone who has helped my along my growth of learning how to grow this wonderful herb.

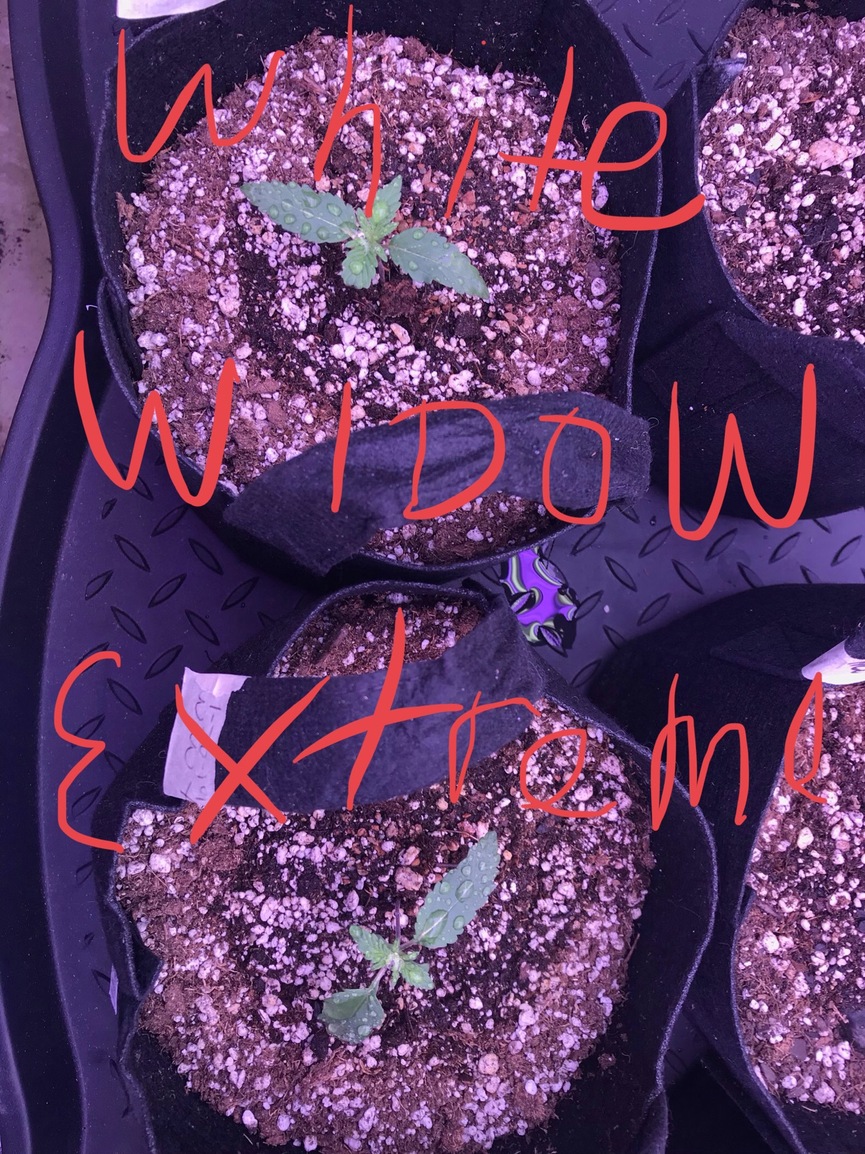
On 11-28-18 my Pineapple Express Waikiki Queen and White Widow Extreme broke ground after soaking for about 30 hours prior to putting in 5 gallon clay pots.

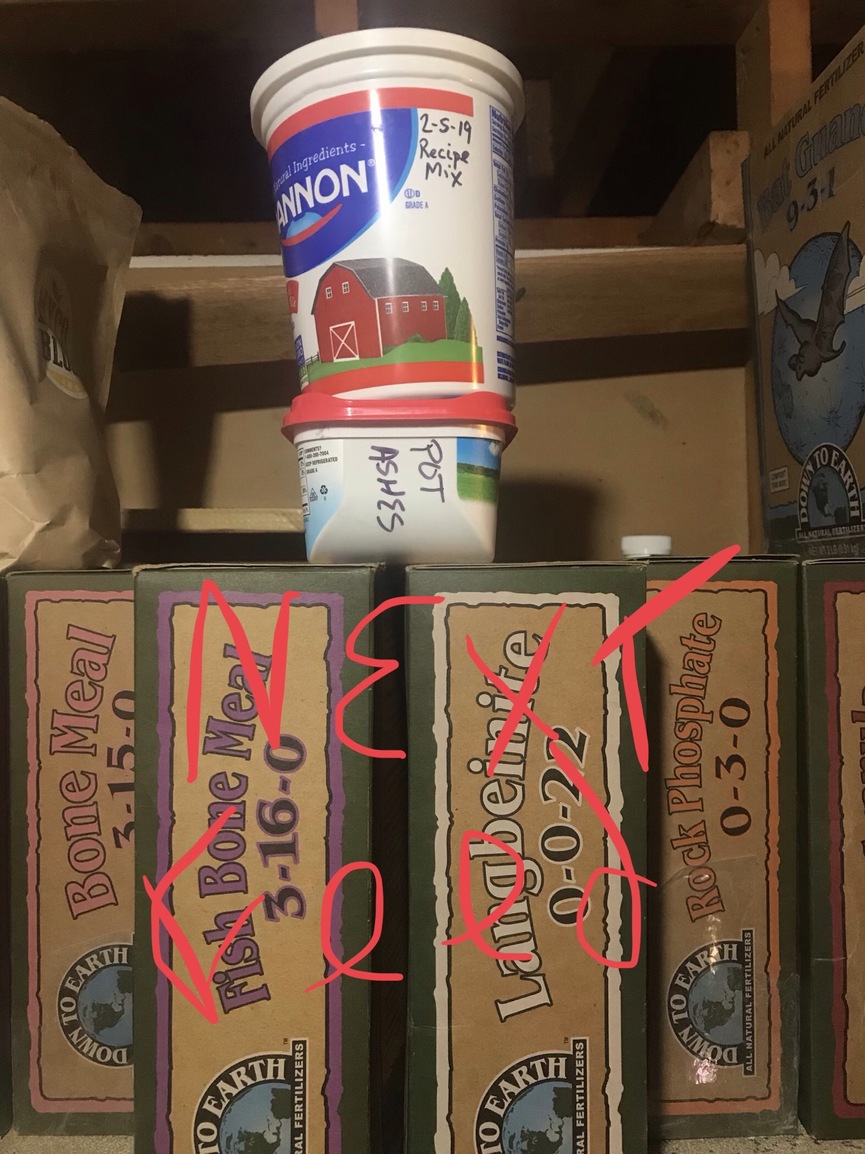
My soil mix was coco coir, perlite, worm castings and miracle grow potting mix - the miracle grow was a learning curve and caused some bumps in the road - won’t use that again in the future.

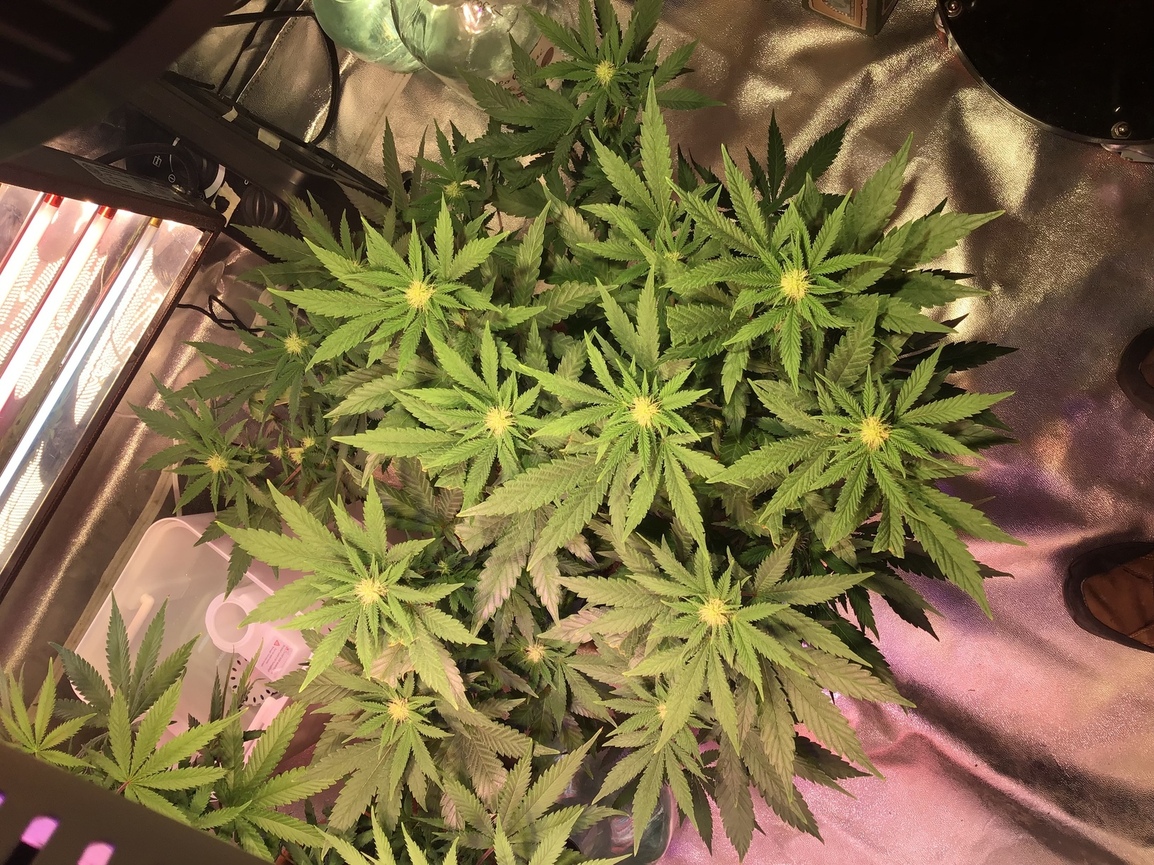
The following pictures are worth a thousand words so that will save both you and me time as I am posting pics that go up to 3 days ago 2-9-19.
I will post pics soon at the 2 week mark after the flip which was yesterday.

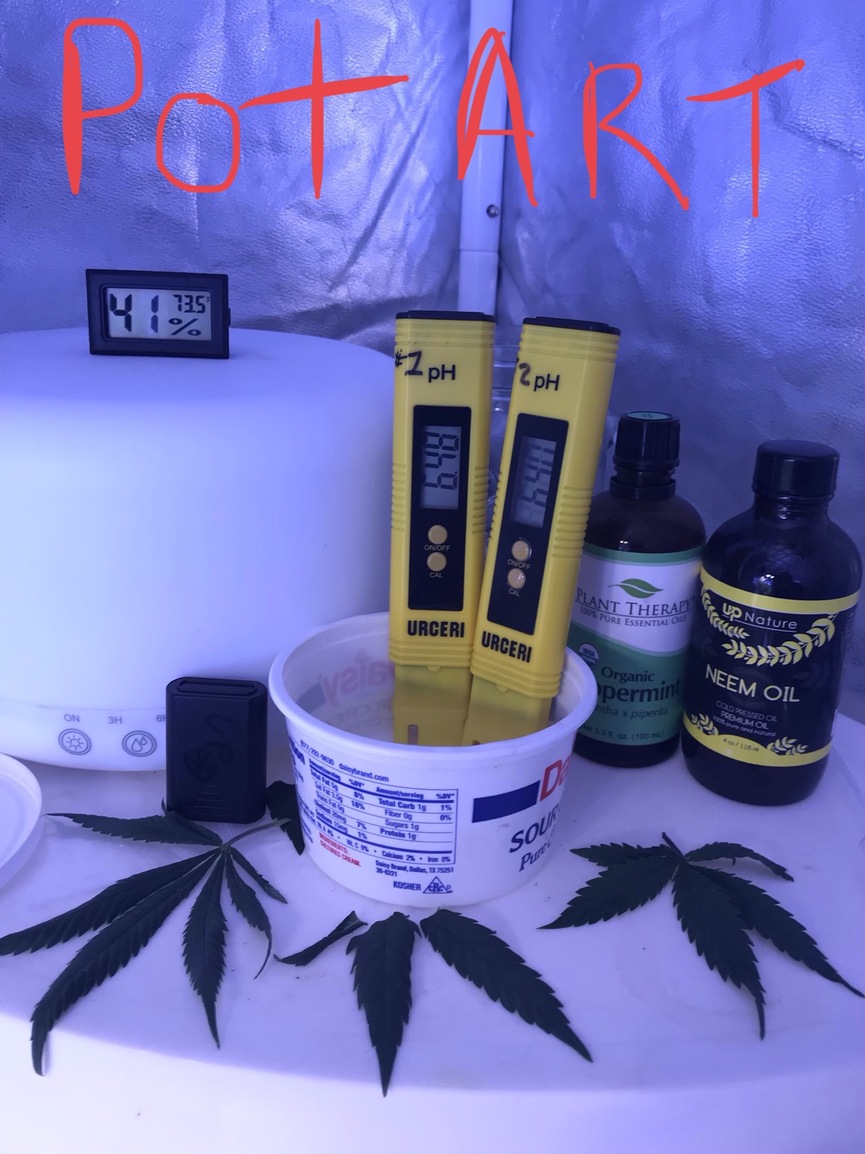
Other than the miracle grow potting soil I have only used organic amendments / nutrients by top dressing them before watering and using Boogie Brew compost tea brew. All of this has been to feed the soil which feeds the roots with the help of Mycorrhizae Fungi and all the organisms that are from the compost tea brew work with and communicate with each other and with the plants in a synergistic relationship perfected by Mother Nature over Millions of years of evolution.

I will be updating this Growth Journal from now until the end of the harvest assuming that I also get through the learning curve of the flower children.

Hope you all enjoy and feel free to ask any questions you might have except the meaning of life…lol

HAGD

Uploading: DE23192B-6AB1-4A90-AB15-E04D438E63D6.jpeg… Uploading: 72F10FB4-3B7D-4DA0-93F2-F9FB8FAD453F.jpeg… Uploading: 7AA7E3F0-BC04-4114-9DB3-F029365AA606.jpeg… Uploading: DE81CB1D-2E97-450F-B27A-5D0143FFAC9F.jpeg… Uploading: DC3C8099-00FA-4DE9-830D-5DCF71479B83.jpeg… Uploading: 29D1A190-5B00-4AE7-B2A9-5EAC277A2951.jpeg… Uploading: 2FC8676D-27CB-4C09-91AE-075FA046576D.jpeg… Uploading: 062AD4A2-A20B-471C-B9E6-BC1F976540EF.jpeg… Uploading: B84B7127-816D-46DA-8461-3FF24914D208.jpeg… Uploading: DB7CCD33-26CC-43D9-BD86-7403AF787BF2.jpeg… Uploading: EF686699-B609-4086-B1D8-2EFF9DB0BFAE.jpeg… Uploading: 0EF48389-42B3-46B8-8349-7008EDBA891C.jpeg… Uploading: AE3BB0D4-BD03-4715-8024-0D620E910F53.jpeg… Uploading: 417C422D-1F4C-4138-BF14-F01C8036FCFA.jpeg… Uploading: A03BE1DF-7DCB-4544-BEBC-1AEFB8B26852.jpeg… Uploading: E4BA4FD8-CB7E-4478-AAE8-FA3F44D01814.jpeg… Uploading: 7C9B01E9-536D-4C56-A5EA-5789837190D4.jpeg… Uploading: D4165EA5-7423-4BE5-9347-58836818FA16.jpeg… Uploading: B7A8908F-61F7-4FD4-807B-B68380236163.jpeg… Uploading: AF17B0A3-F1C9-43BF-8938-D9777BE9C7EE.jpeg… Uploading: 811526F7-65B2-4331-9952-B2565BEE8F8E.jpeg… Uploading: 187FFB0F-D644-493D-BC28-BB52137AF9A7.jpeg… Uploading: CC32ECB2-D538-4C8D-B765-498936CFDD95.jpeg… Uploading: C45C77FE-4990-4D79-8A55-062DECD49EF9.jpeg… Uploading: 81FD3598-4EB6-4915-ADE4-C6062CF69A87.jpeg… Uploading: FEE6BBD3-21BA-48C7-9CA7-45CC5FC72AE7.jpeg… Uploading: 99FB108F-F88E-4369-83FE-3B7963380116.jpeg… Uploading: E0468C20-ED31-4D15-961F-7C0DF821F306.jpeg… Uploading: 385BB140-7288-4C1E-A512-D40360F303FD.jpeg… Uploading: 6059AC87-7017-4521-B2C6-5C0C97D9C5C5.jpeg… Uploading: 80793421-1872-410F-A7D8-6C4F4D66CBD8.jpeg… Uploading: 1E01E076-58FC-4815-9212-87333AAC30D2.jpeg… Uploading: 6A76BB4F-E6A5-44A0-BCF7-FD70804A35D5.jpeg… Uploading: 0CE25BD8-0890-43D8-BC56-3DAA35D52678.jpeg… Uploading: CF662118-17C7-43D4-9DC9-9B5F785E6C33.jpeg… Uploading: 9C6E85CD-3C1E-4017-B0F5-96F80A4EAC58.jpeg… Uploading: A5753BC6-8A1C-4EFA-97C6-588DE31906F8.jpeg… Uploading: AA8D9690-4C3E-4C95-A3CA-0B46880568D1.jpeg… Uploading: 3603361F-F9D2-4EEE-BEBB-C0CFBAEC38C1.jpeg… Uploading: E6120513-FCF8-4286-890E-D5A6FA125FAC.jpeg… Uploading: D999E53A-3C22-4432-998A-AE410378C052.jpeg… Uploading: B3877D8F-115F-4FCB-A13C-CE69A093E64C.jpeg… Uploading: 4A3DBFDE-FB24-4326-A501-F7E9F6EF0A71.jpeg… Uploading: FC85D398-0C35-49A0-BB12-79B98B611DBE.jpeg…

11 Likes

wow, @Skydiver looks like you got a good start, good luck on your finish, keep up the good work! :+1:

2 Likes

Thanks @monkman man…lol
I’m enjoying the ride with this and I’m sure you are too…keeps the sparks flying!
Your on your way to success and I Am Watching. :thinking::sunglasses:

HAGD

1 Like

Nice job, it’s a fun, rewarding hobby isn’t it? I’m watching. Did you get the light build from the thread or Dbrn? Looking good - I’m set to watching.

Thanks @LoCoRock for watching!
Yes yes it is fun!
I really enjoy learning new things in life!
@dbrn32 was my inspiration to ordering the HLG 600H kit.
I figured I was going to need to upgrade my lighting my next cycle anyway as I will have 8 plants going and I was just going into flowering with these 3 so I pulled the trigger figuring it would only enhance my results.
Will probably get another of that type of light in a couple months to fill the other side of my 4 1/2 x 8 x 7 tent.

3 Likes

Great journal following along!!

1 Like

Well it’s been 16 days since the Flip - Wilson you older folks might get the Wilson …and not the soccer ball in the Tom Hanks film…lol
Here are some pics of the ladies just before lights out at the end of day 14 of flower.

image !
This new HLG 600H light kit is awesome. Hung it at 24” and at 100% power when I installed it the other day. Did I mention this thing is awesome! Was a good build and by doing so you become more familiar with how these are…well put together lol
image
The side lights are there because I have the available amps and they don’t have another use yet until I get a veg tent going. I figure it can only help giving more light. The bulbs are Hortilux power veg + UV and power bloom bulbs.
image
image|374x500 !
image|667x500 !

image|667x500 image image image

Some of the pics uploaded out of order and some not at all. Still figuring the site out…lol

I will add some More details after a bit on what I have fed the soil with…and some pics of my new, for me anyway, anchors for tying down branches doing LST training.
Please share what you use as the anchor point for tying down too as that has been an evolution for me and I haven’t researched that to see what will work best for my set up so I’ve been tinkering and I think I came up with a winner.

Thanks for following and sorry about the commercial intermission - gotta keep the lights on :stuck_out_tongue_winking_eye:

4 Likes

drill some homes in the edge of container & use pipe cleaners looped gently with room to grow like so

2 Likes

Yea if only I was using plastic pots that would be the ticket.
I’m growing in clay pots atm and will be using cloth pots too the next round.

I usually avoid plastic when I have a reasonable alternative.

This is what I came up with last night after coming across a roll of heavy gauge wire (slightly thicker than tomato cage wire. Had this stuff left over from the late 70’s when my older brother was making bongs and selling them to the head shops. He gave me a job making pokers from the wire that he included with his bongs. Helped pay for his college that way…lol

Installed a couple last night
Will be finishing them all today once lights come on.

2 Likes

Make smaller “U” bends and insert them upside down into the soil over top of the branch

The hardest thing to do is breaking your girls back by supercropping them. Its hard to break down and do it but it works. Have you watched videos on supercropping techniques. It works great, I did it with my 1st Chocolope, it’s in My grow journal! I know it is hard to get over the fear though :disappointed_relieved:

I tried that and there end up being to many obstacles in the dirt. I used long “staples” and have tent stakes I’m now replacing with my new design. I can tie down 1/3 to 1/2 of brances onto the one anchor which depending on design can cover 1/3 to 1/2 of circumference of the 12” pot.
The new version I am using allows me access to the soil as I top dress almost all my nutrients and I need to loosen the soil between waterings and then add the amendments to feed the soil.

Super cropping isn’t something I have tried yet but I’m sure I will at some point.
I think that’s when you bend/break the branch?
I’ve only been LST and defoliating as I go and did top 2 of the 3 in the early stages.
The Waikiki Queen was slow growing at first and she was never tipped but I did tie down her main stem so it’s curved over

I just looked super cropping up.
Yea I’ve been doing squeezing bending and twisting of branches from early on

@Skydiver - maybe you could wrap a ring of that heavy wire around your clay pot and tie your string or plant ties to that. Just a thought.

@Verndoc thanks for the idea

This is what I did and that is always subject to change as we all know this herb can give us a creative mind
Seems to be working out well. Easy to adjust things when needed and I don’t have to ever remove the anchor like I had been when the stakes came lose or I pulled them because they were in my way.

4 Likes

Exactly… I was going to start out with just bending ended up super cropping… but yeah whatever works… and yes creative indeed, your journal has been interesting

My indoor is 2 weeks into flower… I think I’m gonna do another round of indoor along with my outside stuff come March/April. But this time way more cropping and FIM 'n… I didnt go crazy this round getting my toes wet ya know. Kinda same boat as you I’m figuring?

1 Like

Here they are after I finished putting in the new anchors and tying them back down and some light defoliation.

I’ll take some lower angle side shots here in awhile and post…

I’m digging the anchors so far! But who knows what next week will bring…

5 Likes

Looking really good @Skydiver :fist::+1::v::bear:

1 Like