My plan is to journal my first grow from the build to harvest. Please feel free to comment with any suggestions that will help me succeed I am starting with a 3x2x6 cabinet
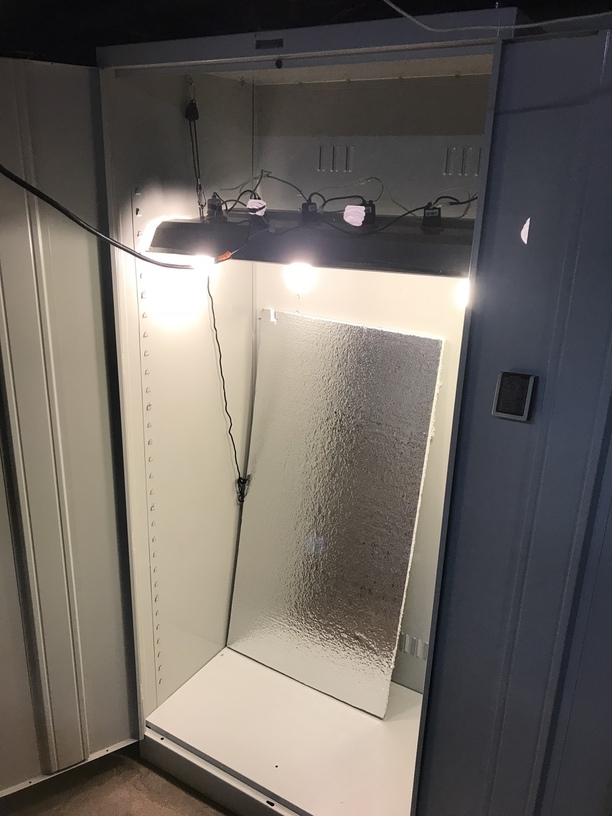
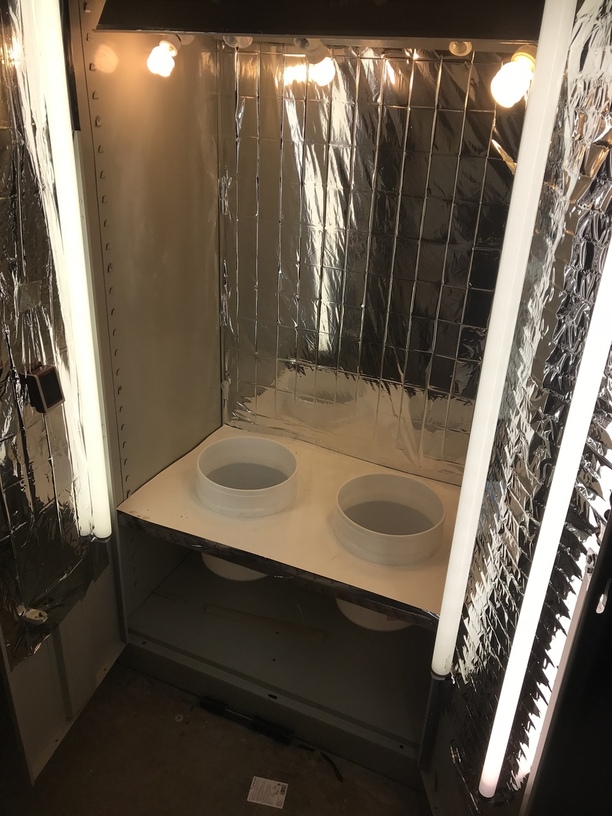
I’ve added a shelf with 2 cut outs for (2) 2 1/2 gallon buckets. The shelf will support the buckets a few inches above the bottom of the cabinet so I can slide in and out a drip tray to catch the run off. I’m also starting to add Mylar (this originally was going to be a cfl grow but I couldn’t resist a great deal on a 400 watt hps)
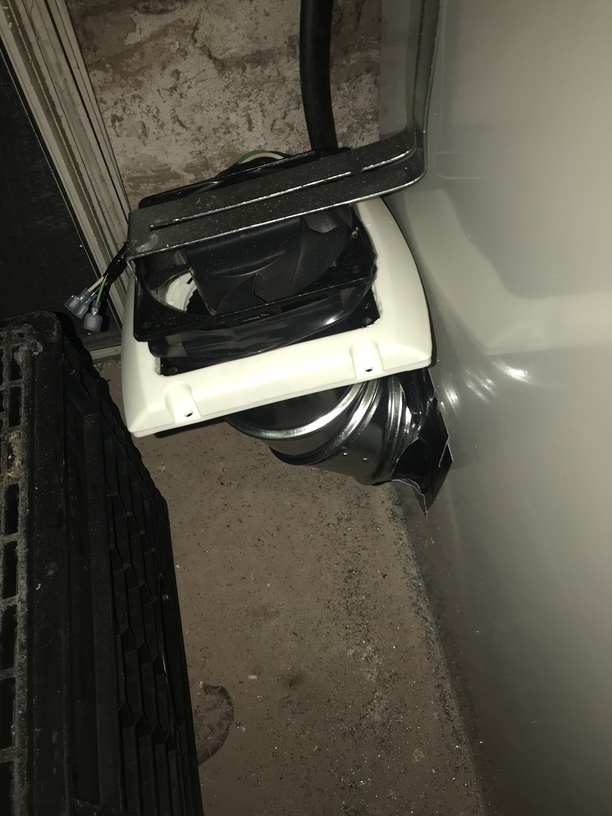
I’ve cut 3 holes in the top and side of cabinet . The 2 collars in the top of the cabinet will be the ducting solely to cool the hps light. I did it separately this way so I can capture the heat from the light with out the smell of the plants and vent it into the basement during winter months and add some heat to the room. The collar on the upper side wall is solely for venting the excess heat from the cabinet. That ducting will be run to the outside.
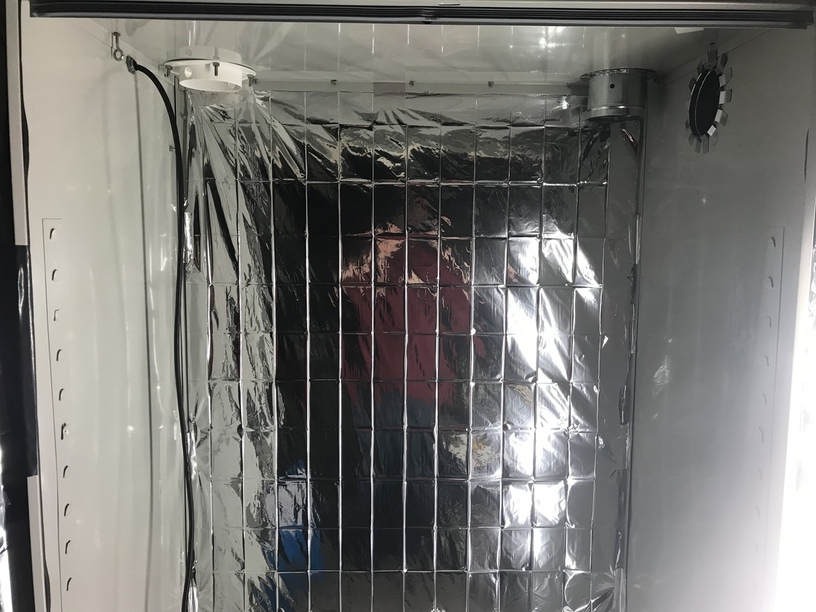
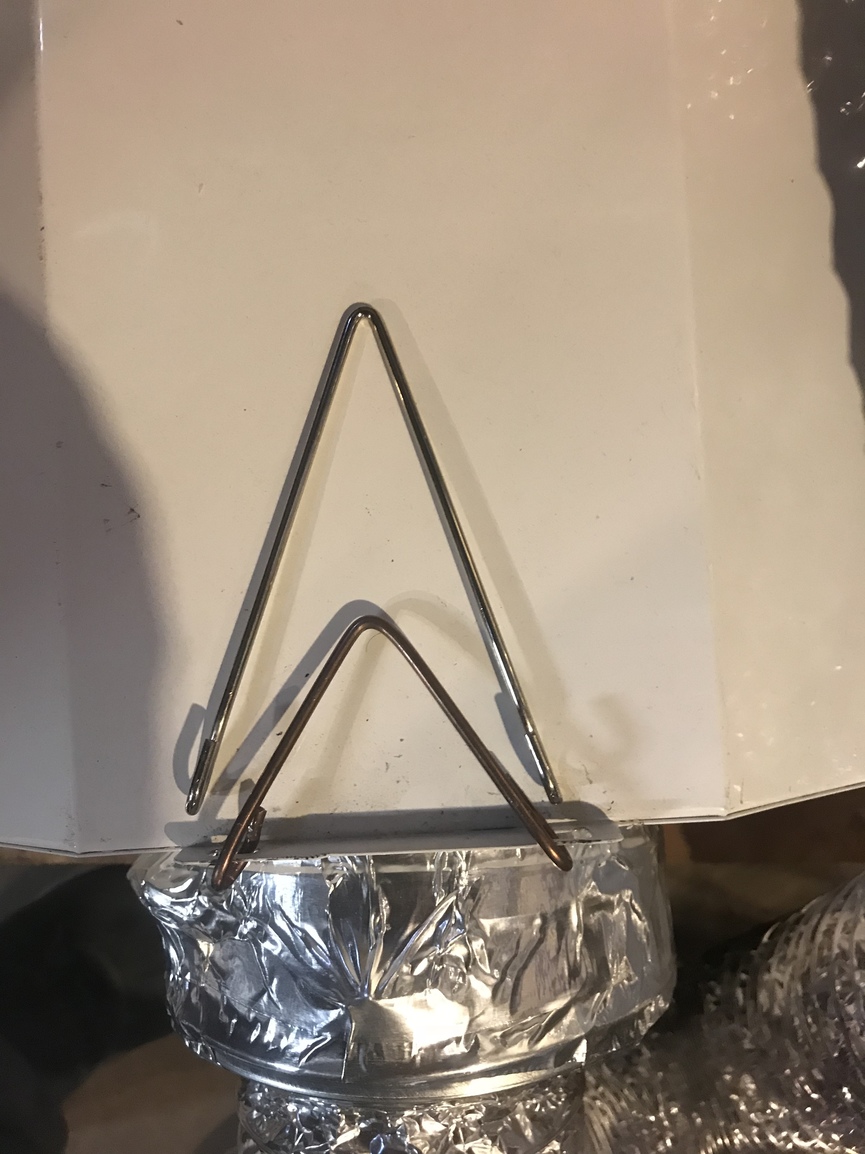
The light has been hung and the ducts connected. I didn’t have the space to use 6” ducting since my cabinet is only 3 feet wide so I cut some 4” holes in a pair of 6” duct caps and connected some 4” ducting. I also made some smaller hangers for the light to gain me a few more inches in height.Just barely made it fit


I had some success selling a few items on Craigslist so I took the $ and invested in a Viparspectra 300 watt dimmable Led light for my veg stage.


I’ve mocked up the exhaust fans and looks like it’s going to work I have the fans above the cabinet to shorten the ducting so the fans don’t have to work harder . The green hydro farm 4” fan is just to cool the hps. The black and yellow 6” can fan is going to be venting the heat from the cabinet. My plan is to connect it to an inkbird temp controller and only have it exhausting when temps exceed my set point

I’ve connected the duct work to the can fan and added a homemade filter to the intake where the fan for the light will draw the air to cool the hps


This is the one part of the build I’m not sure I’m 100% happy with yet. I salvaged a cooling fan from old overhead projector and fit it inside a louvered dryer vent (louvers have been removed) the goal is to have it turn on when the cabinet exhaust fan kicks on to vent the heat, this will pump some cooler fresh air into the bottom cabinet. A passive intake would probably sufficient but I had the parts so I threw it together
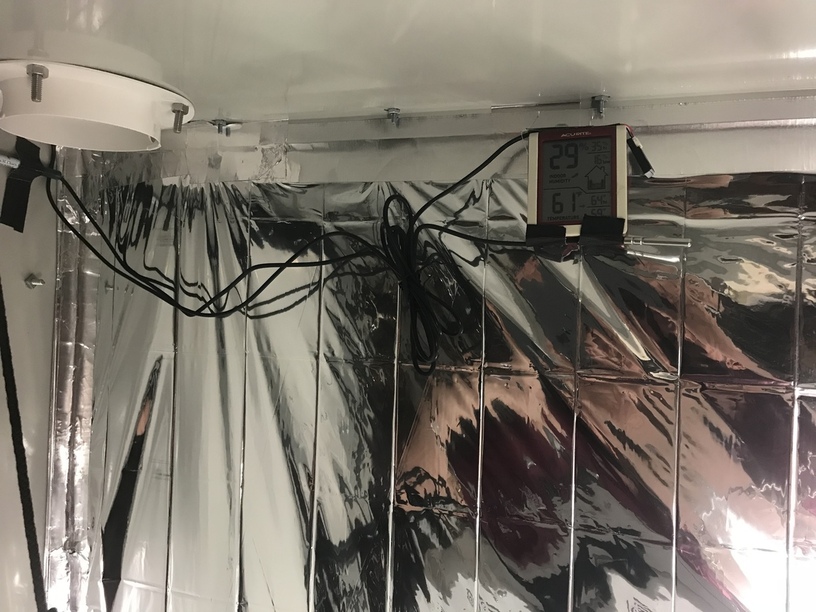
My temp and humidty controls have been installed. I went with a set of inkbird controllers w/ heat and cooling plugs and humidify and dehumidify plugs

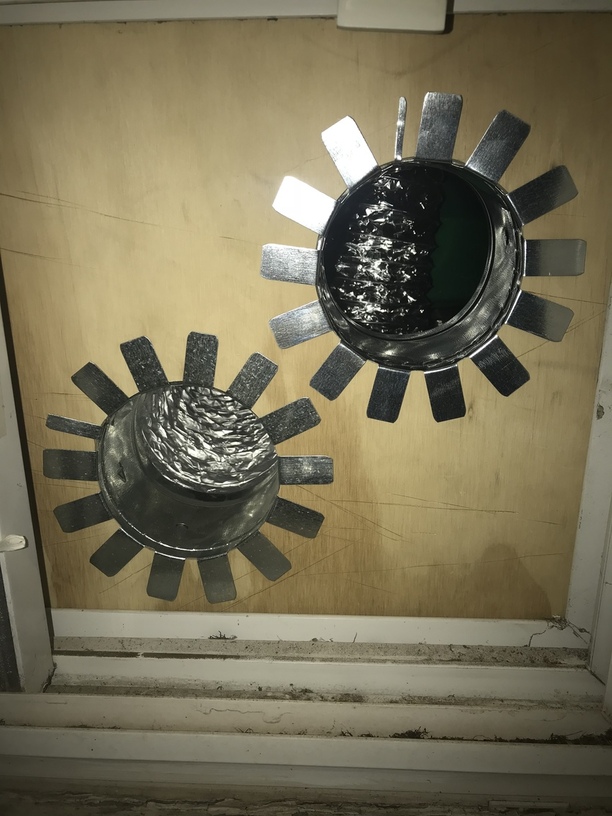
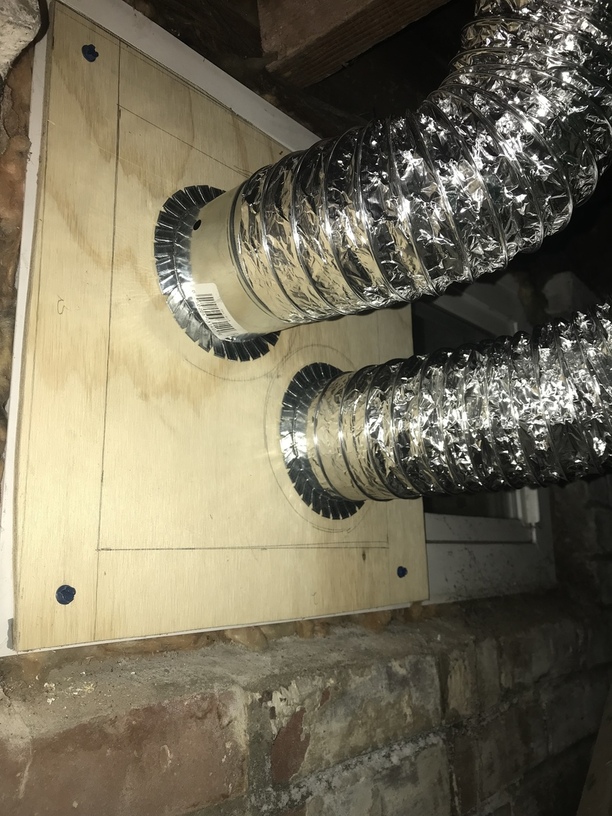
The exhaust fans have been hooked up and vented to the outside by using a piece of plywood with gaskets on the edges to seal it to the window. I’ve added backdraft dampeners to keep any cold air or bugs from drafting in. I will be painting the plywood that faces the outside black when the weather warms up so it’s not so noticeable. Still pretty cold here in Ma.

Well I was given some bagseed to practice on. Since this is my first ever grow and using a medium I have no experience with I think bagseed will give me a chance to get my feet wet. The germinating and seedling stage are making me the most nervous about the whole process so I’m all for a free trial. I’m soaking the seeds in distilled water ph’d to 5.5 for 24 hours and moving then to rapid rooters and from there to a germination station then on to coco.

Looks like we have a winner @dbrn32 @Hogmaster @Dieselgrower @Not2SureYet

Some nice growth while I was at work
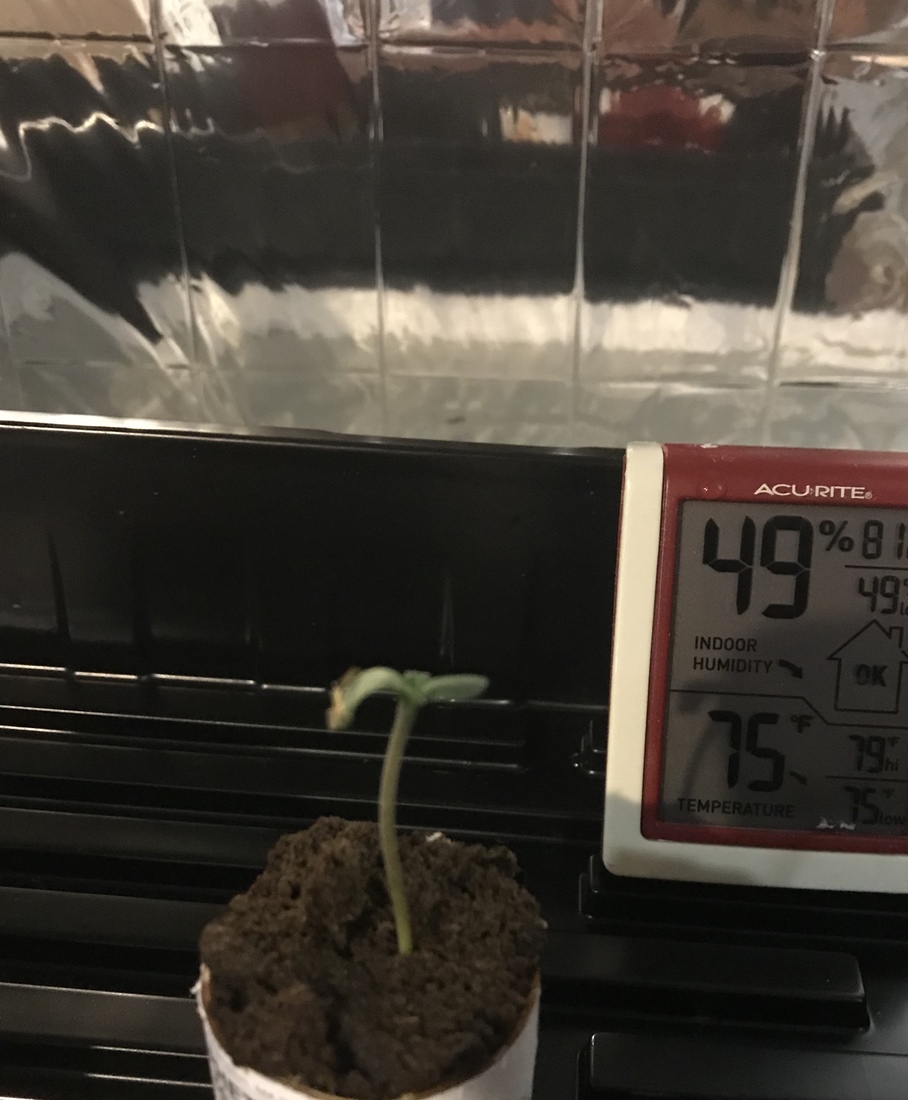
Day 3. I took the dome off today and lowered the lights from 20” to 18” to see if it will reduce stretch. I have a small fan creating a slight breeze in the cabinet. I turned up the Led to full power this morning and came home to temp inside the dome over 90. So now that I know the led will maintain a good temp in the cabinet the dome can be stored away. Working on getting the humidty up in the cabinet next.

Day 4
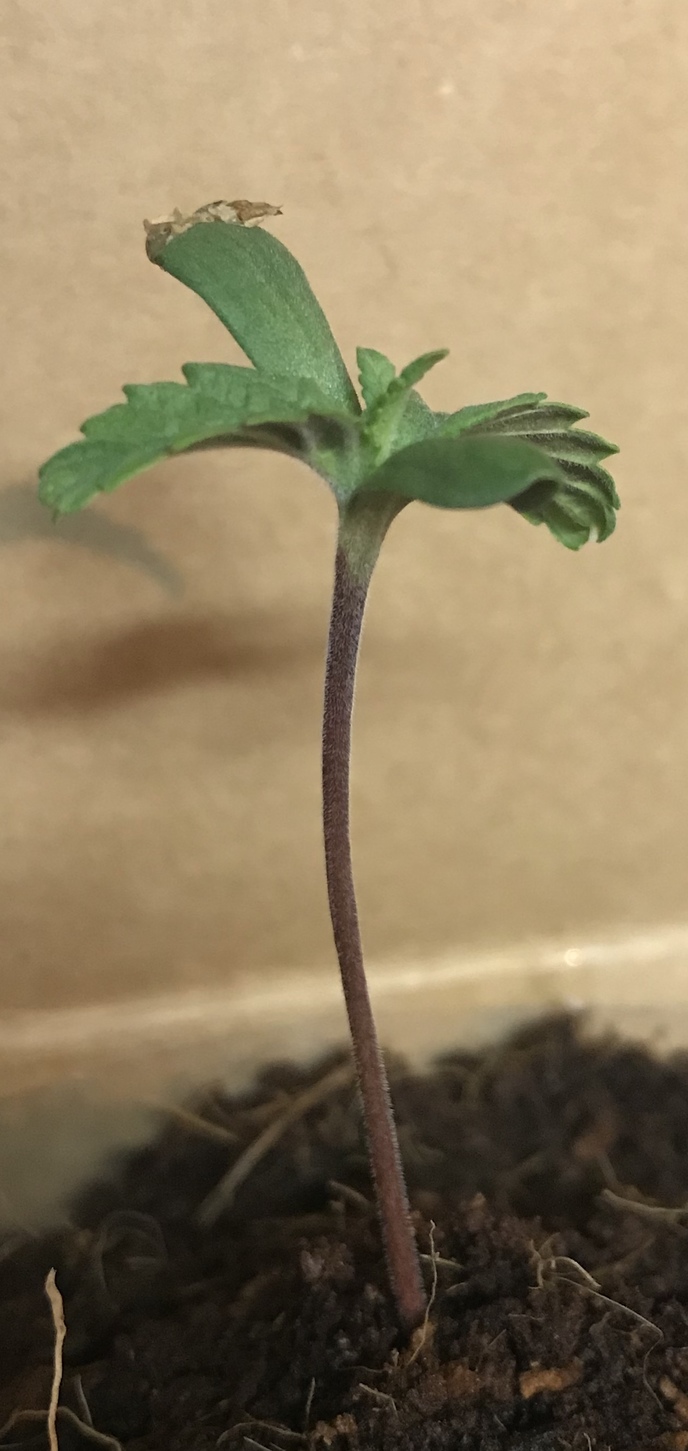
I watered today with 1/2 cup of tap water ph’d to 5.8 and misted the leaves a bit since getting my humidty up is still an issue. I noticed one of the Cotyledon is cupping downwards.

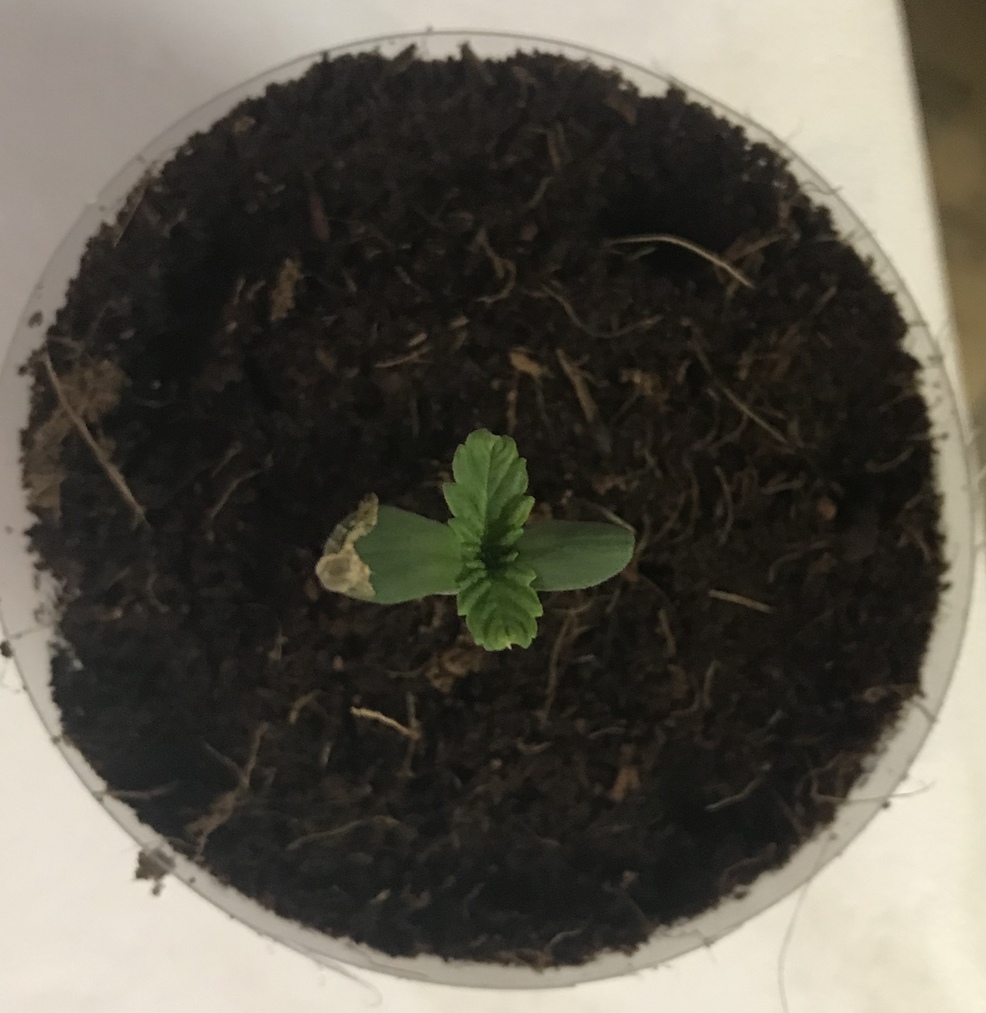
Day 5
Second set of leaves are starting to show. Misted leaves with tap water ph’d to 5.8. Temps steady at 73. Humidty is still to low at 30%. Purchased a small humidifier to try and up it.

Humidity problem solved. What a great little machine for $11


Made some final tweaks to the grow cabinet. I added the bigger fan and a shelf to make some room for the humidifier and cleaned up some of the wires. I think I have it almost dialed in ![]()

Day 6
Watered today with 1/2 cup tap water ph’d to 5.8.
Day 7
I am possibly over watering so I am going to go at least 2 days in between watering. Noticed purple coloring under the leaves but the rest of the plant seems to be doing well


Day 8
Not a whole lot happening. Seems the leaf and stem growth have stalled/stopped and the leaves have gone a shade lighter than they were yesterday hopefully it’s not fading . I did notice she has been busy below the surface. Lots of roots starting to appear. Just not sure why if root system is so active why I’m getting minimal growth above


Day 9
Minimal growth. Still all roots no shoots (stole that lol)
Day 10
Minimal growth. Soil is getting dry so I will water tonight.

Day 11
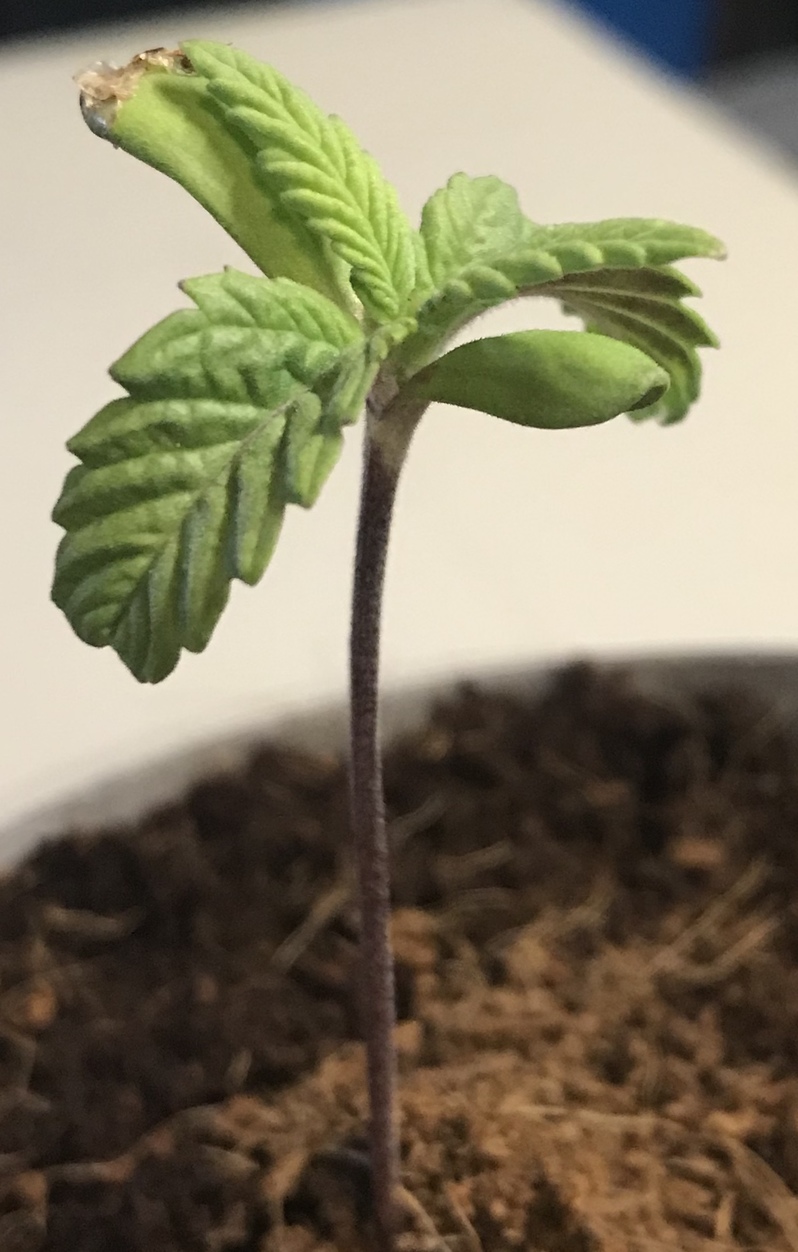
Minimal growth. Looks to be lighter shade of green today. Switched to 6500k cfl to see if there’s an improvement in growth over the weekend


Day 12
First 24 hours under the cfl and I’m noticing slightly more upward growth. I flushed today with 3 x the pot size with 1 qt distilled water ph’d to 5 with 1ml of A&B and .5ml voodoo juice . I managed to get run off to 6.0 down from 6.7


Day 13
She seems to be responding better to the cfl than the led. Definitely more center growth and Plant color has improved with the lower ph and added nutes.


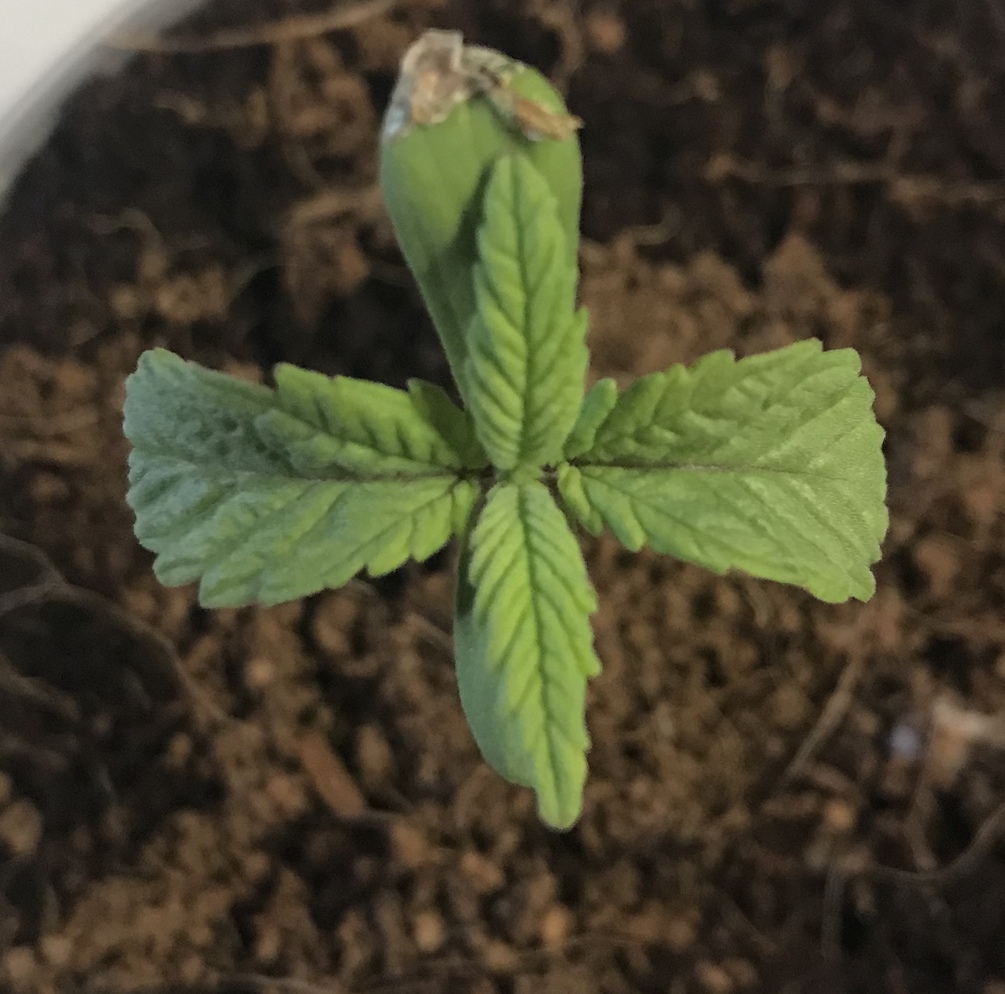
Day 14
Continued growth under the cfl.


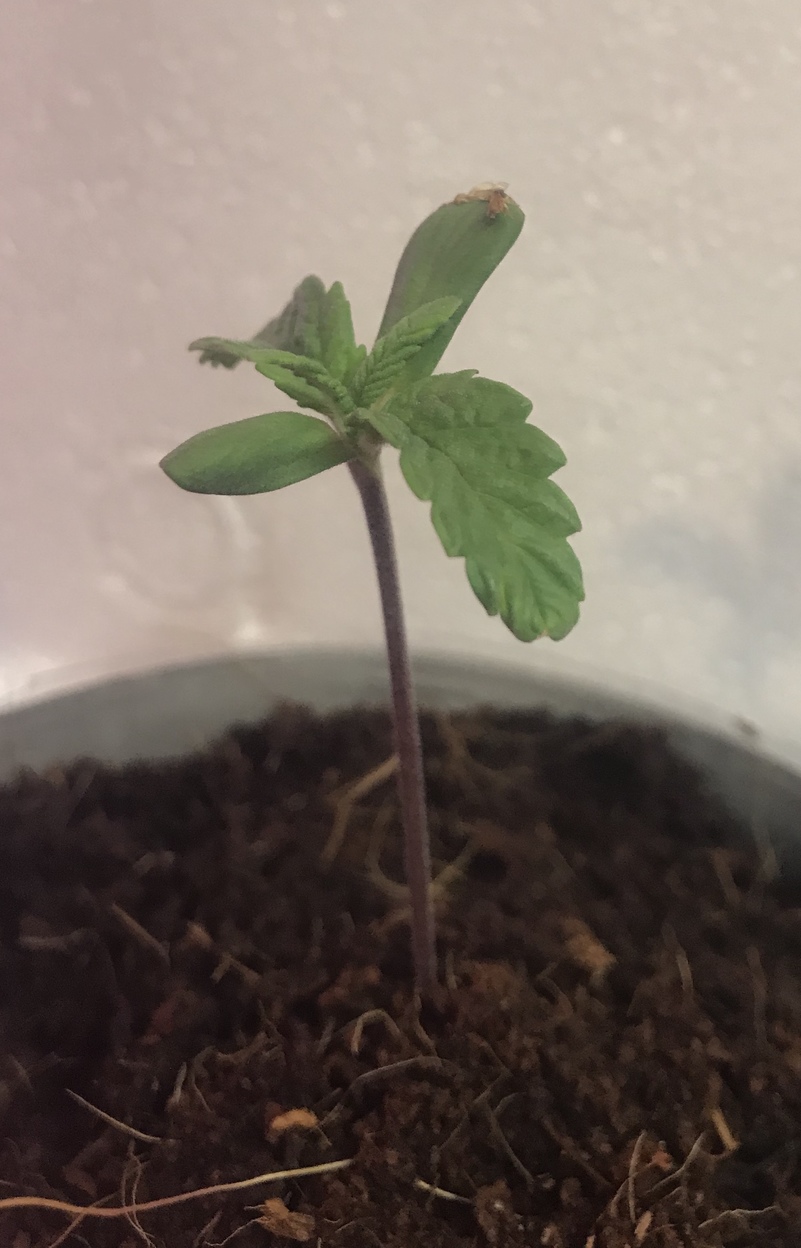
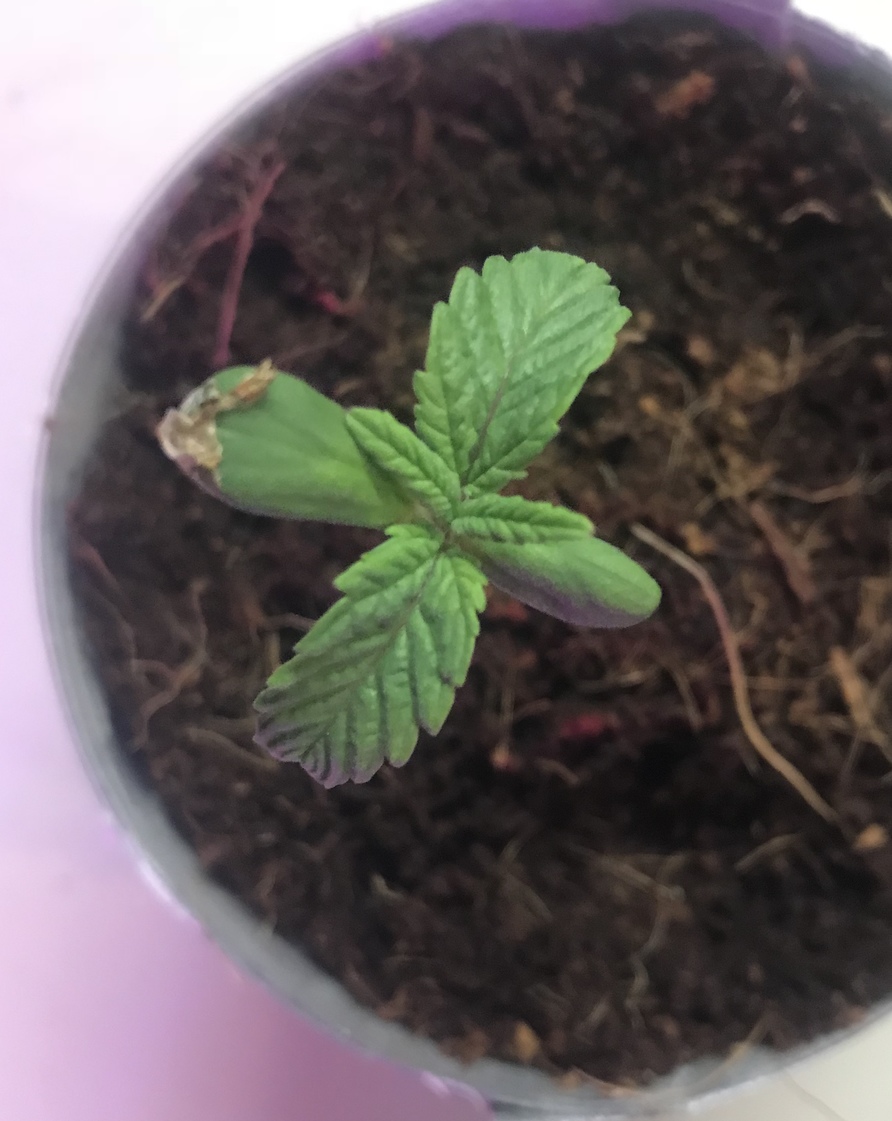
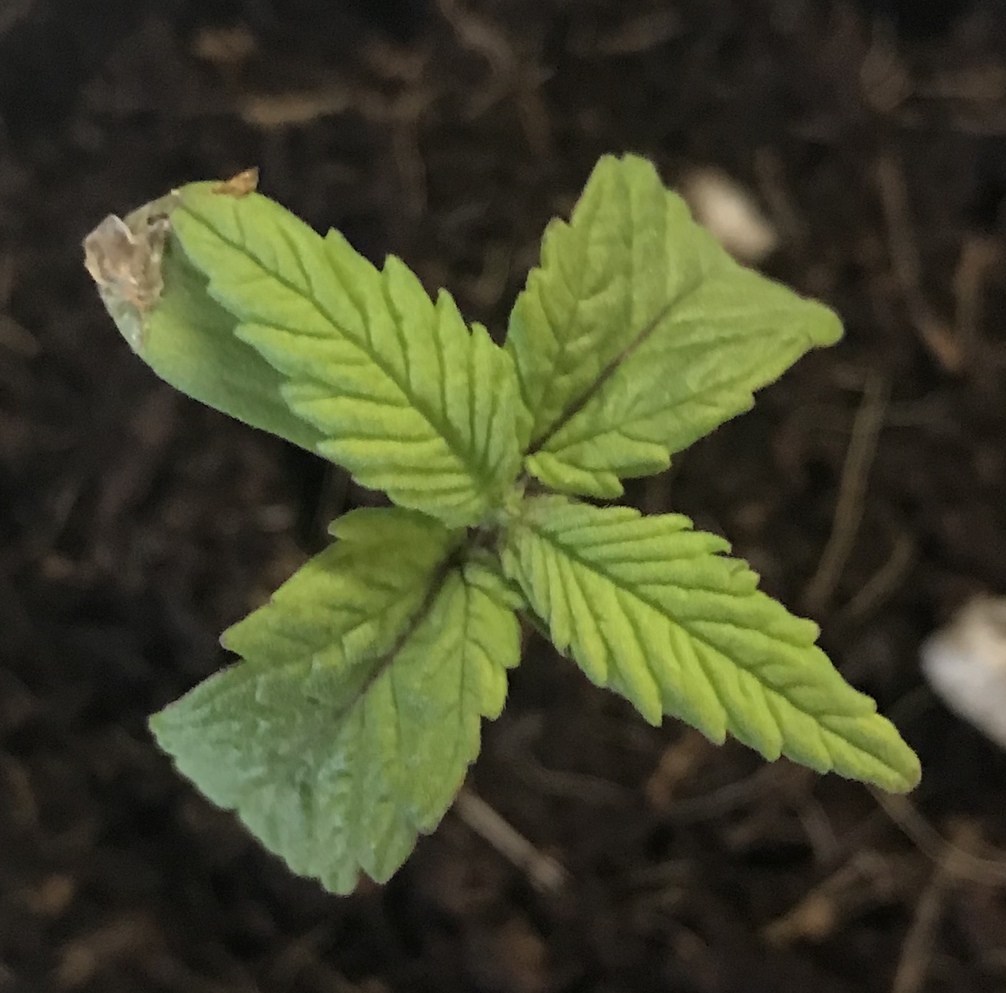
Day 15 (am)
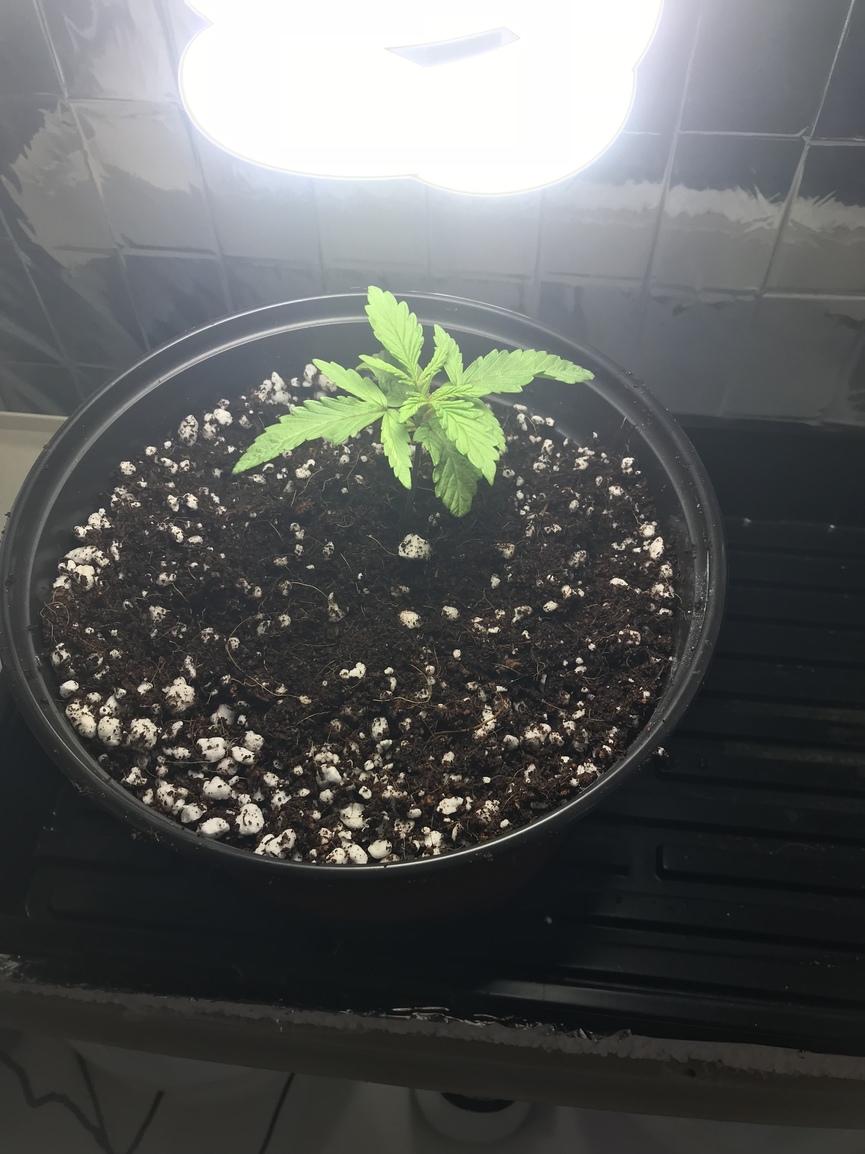
Houston we have lift off ![]() . Continued growth. Cfl will be my new go to seedling light. I will try to bring back the led when she has matured more. Starting 18/6 cycle today
. Continued growth. Cfl will be my new go to seedling light. I will try to bring back the led when she has matured more. Starting 18/6 cycle today


Day 15 (pm)
Watered with 1ml of A&B , voodoo, and B52
Ph in 5.8 - ph out 6.0
Ppm in 360 - ppm out 236
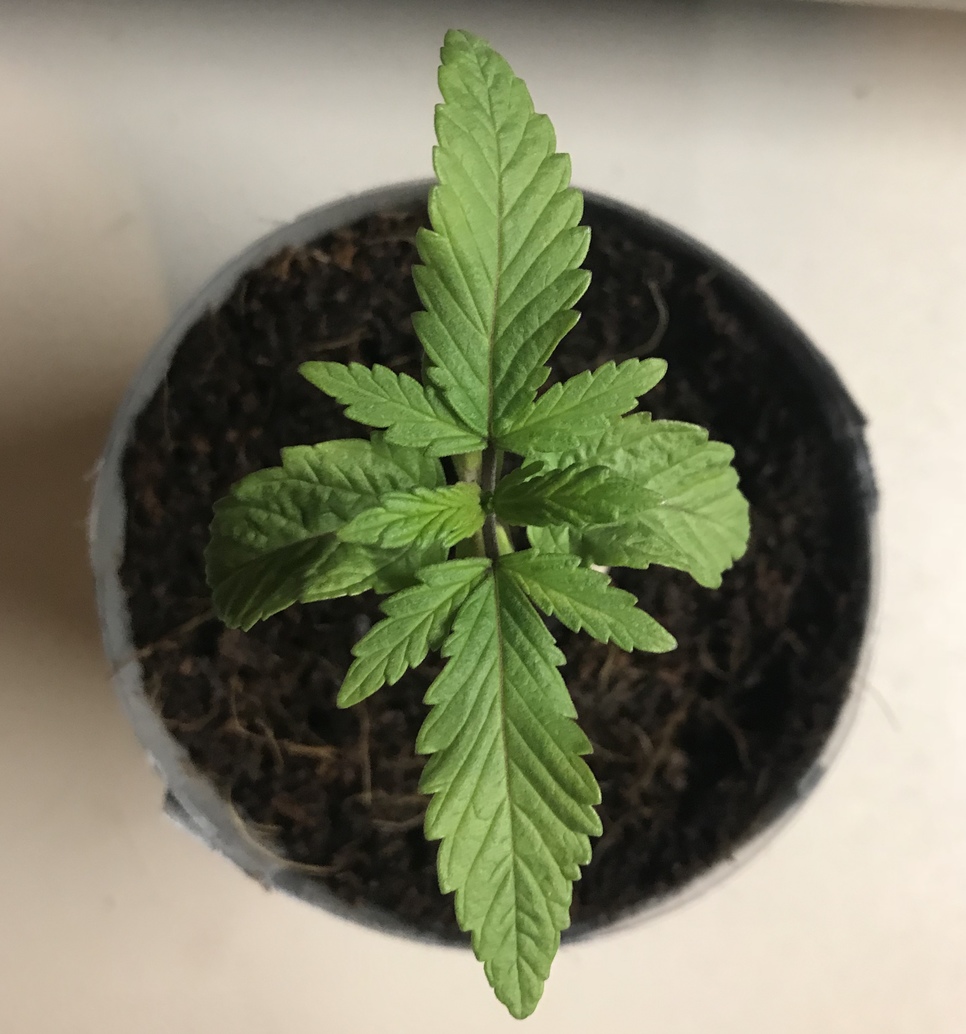
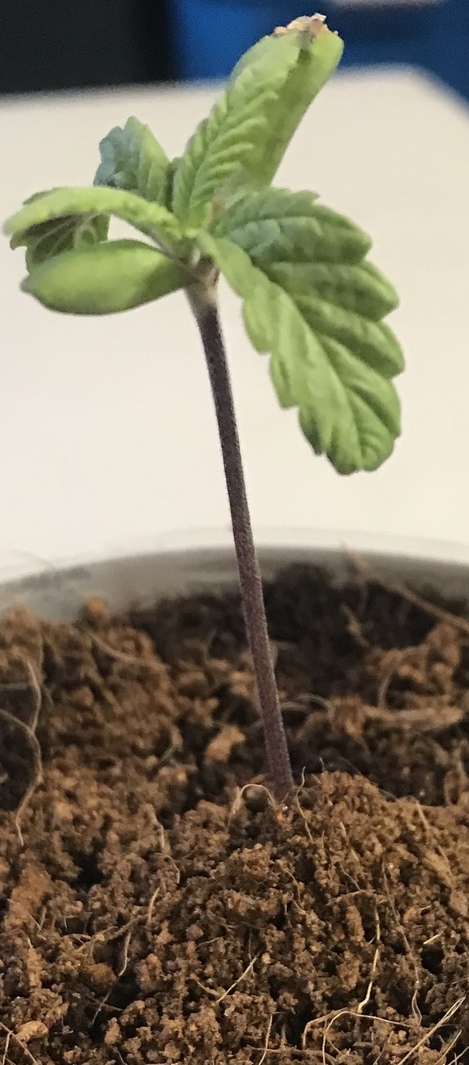
Day 16
Growth continues. Noticed some curling on 2 leaves but unsure why. Starting to get a little stink to her lol

Day 17
Watered and transplanted starting to get root bound. Flushed coco this time prior
Ph in 5.8 -out 6.0
Ppm in 280 - ppm out 320


Day 18
Seems to be doing ok so far after transplant.

Day 19
Some new leaf development.
Day 20
Continued growth. Water and fed. Having difficulty getting new coco Ph out below 6.0
Ph in 6.0 - ph out 6.3
PPM in 280 - PPM out 286

Day 21
Noticed some purple on lower leaves and increased waviness. Heavy flush with straight ph water to 5 and Increasing nutes to full strength to see if it a phosphorus deficiency. Will follow AN nute schedule starting today at week 1 for veg.
Ph in 5.8 - ph out 6.0
PPM in 313 - PPM out 188


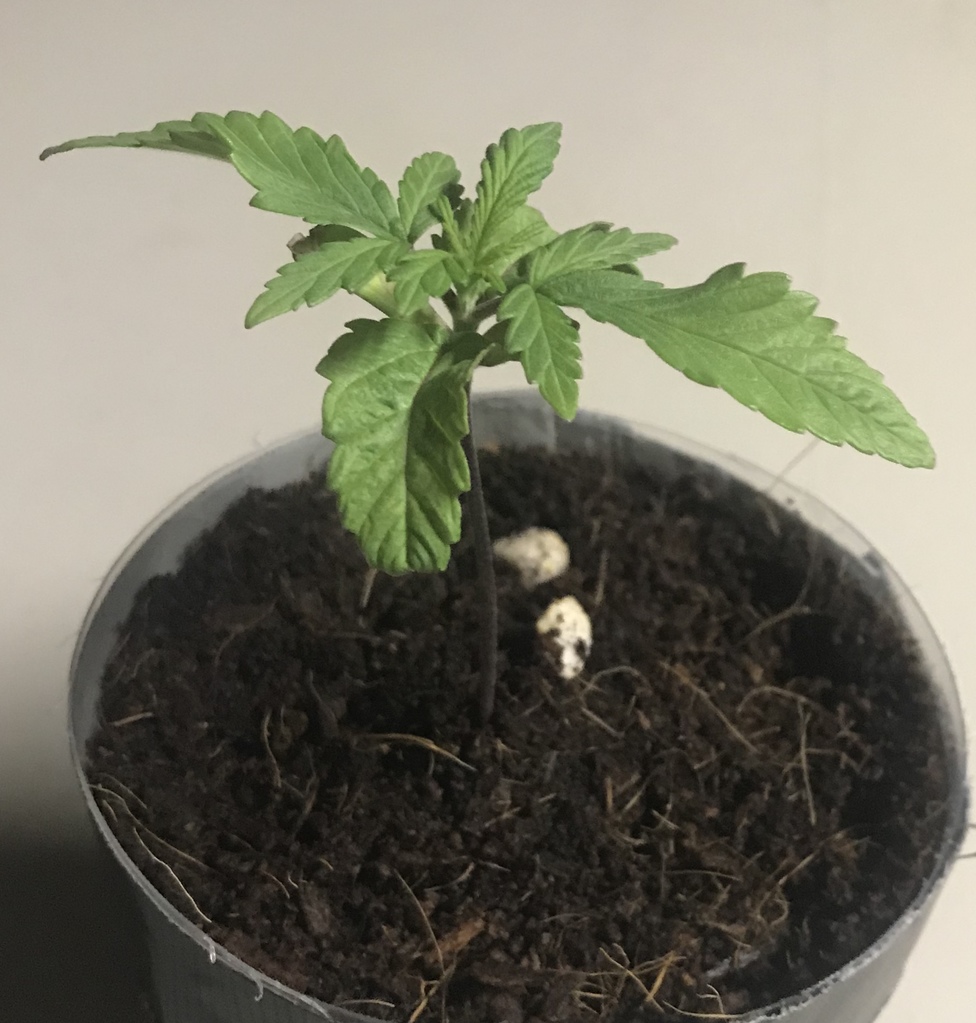
Day 22
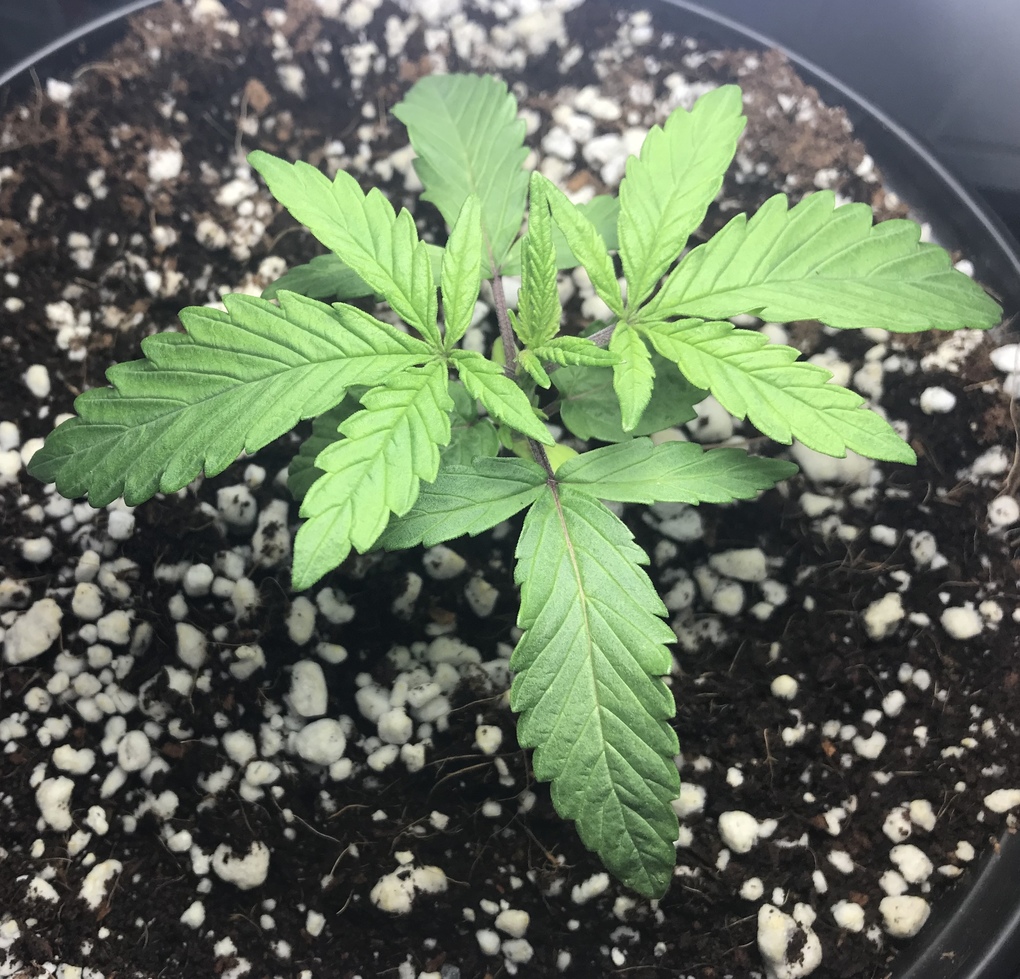
Switched the lighting back to the 300 watt led now that she a bit more mature. Starting at 50% 20” from top of plant . Stem is shedding a purple skin.


Day 23
Watered with nutes today. Main stem is thickening nicely.
72 degrees w/ 60% RH
PH in 5.8 - PH out 5.9 ![]()
![]()
PPM in 287 - PPM out 227
Overall I don’t have much to freak out about today lol

Day 24
Started 18/6 today.
Day 25
Lower leaves are droopy . Not sure why

Day 26

Day 27

Day 28
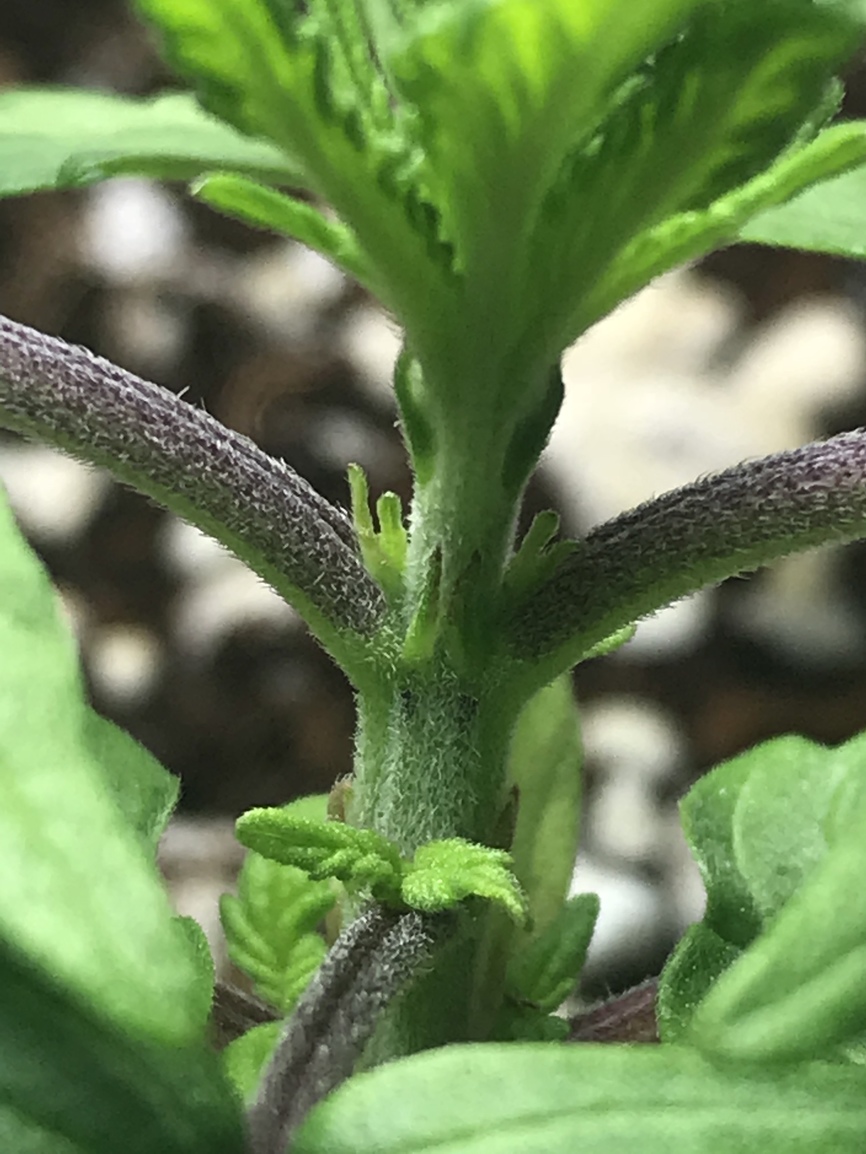
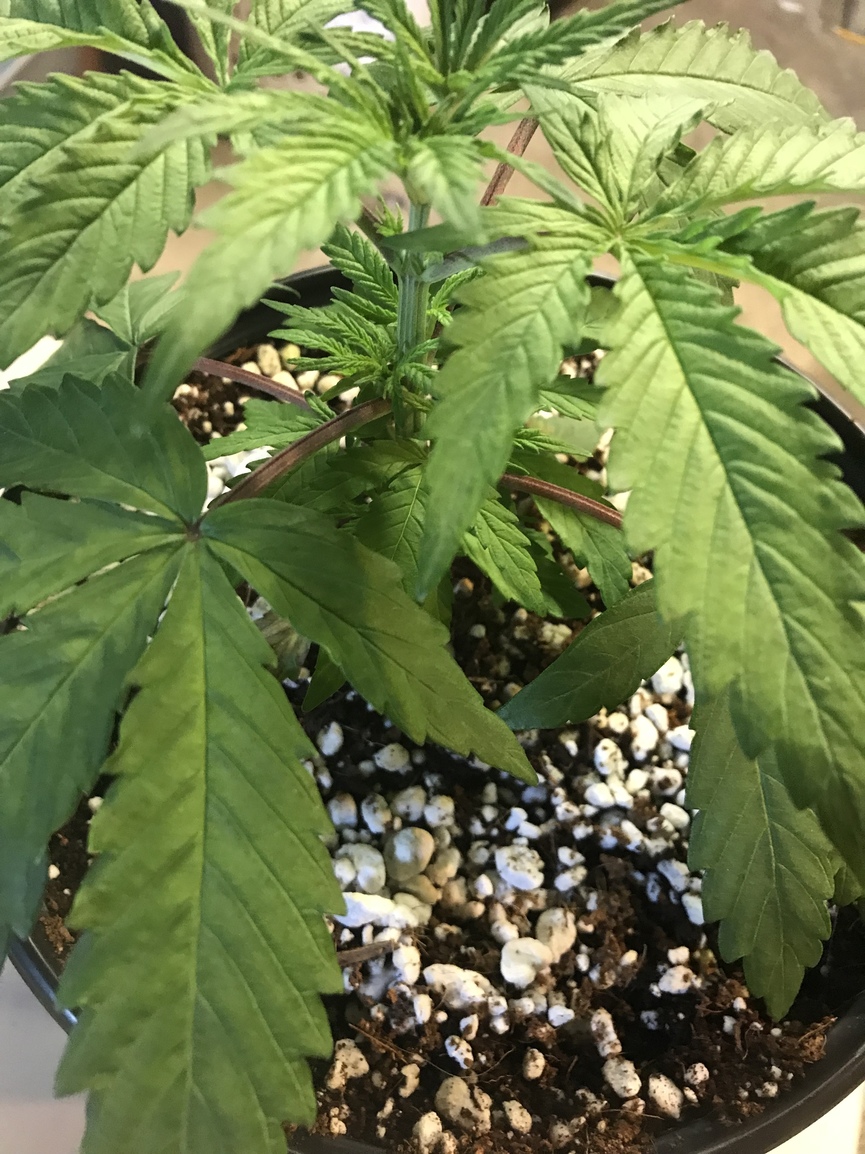
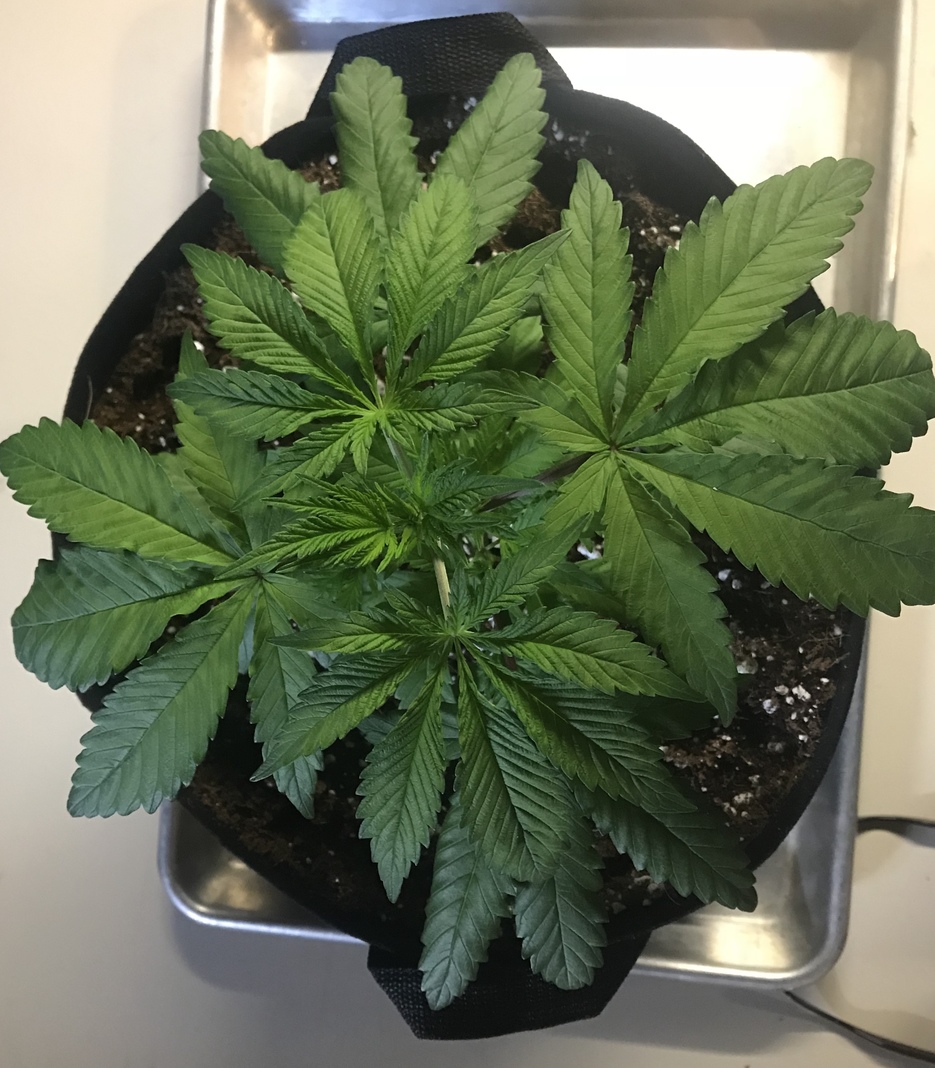
Lots of secondary growth near stem. She is definitely transpiring through leaves now. Feeding tonight week 2 nute schedule . 8ml A&B 8 ml b52 and voodoo /gal

Day 29
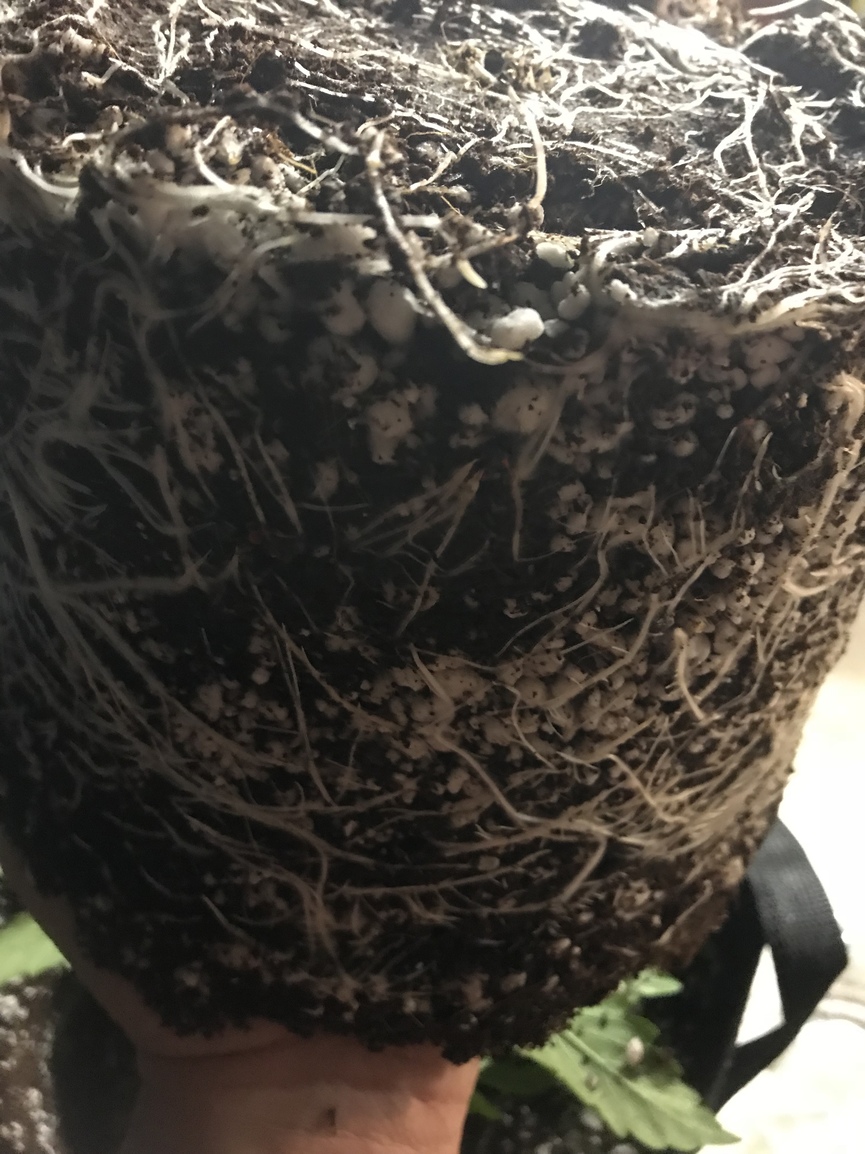
Plant was drooping a lot today. Suggested she might be root bound. Confirmed early stages of root bound.
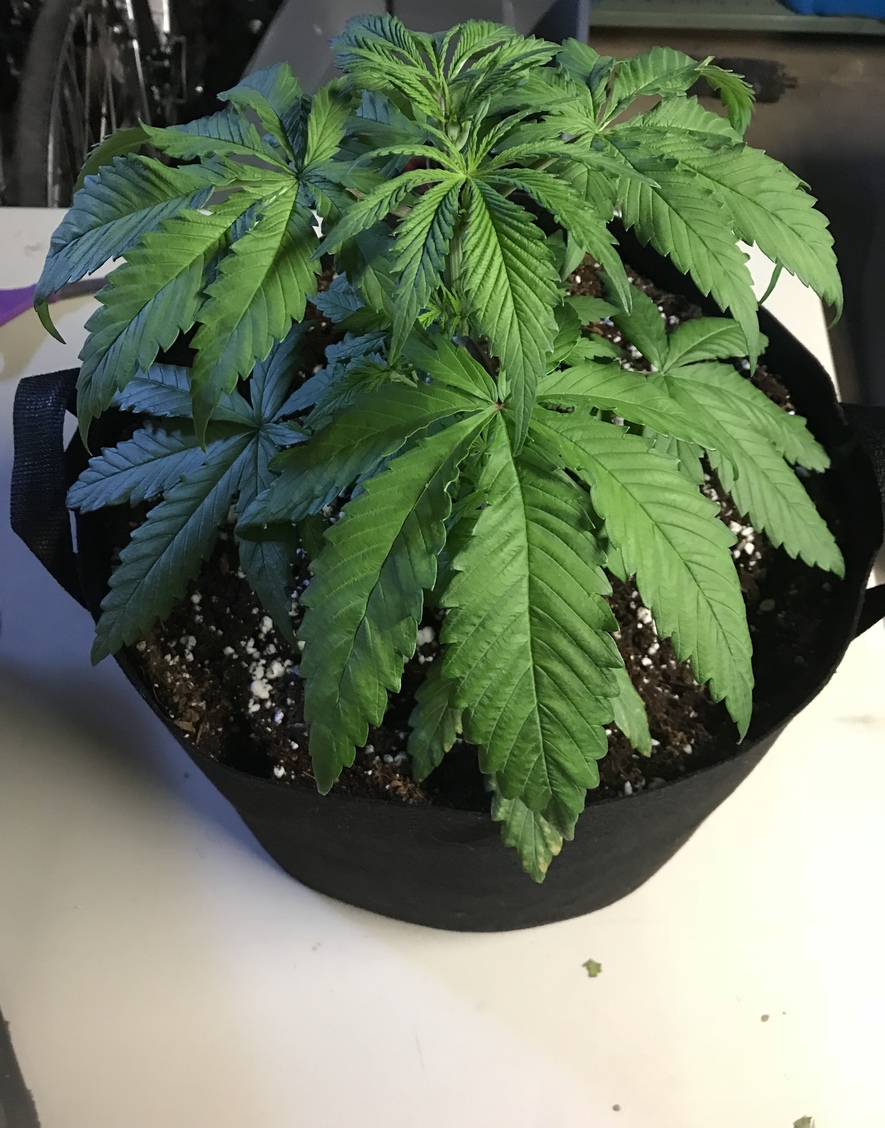
Transplanted to 5 gal phat sack. Watered new coco with ph 5 water.


Day 30
Root is doing well after transplant. Another lower leaf is affected by random spotting


Day 31
Root is plugging along.

Day 32
Watered/fed week 2 regimen.

Day 33
Day 34
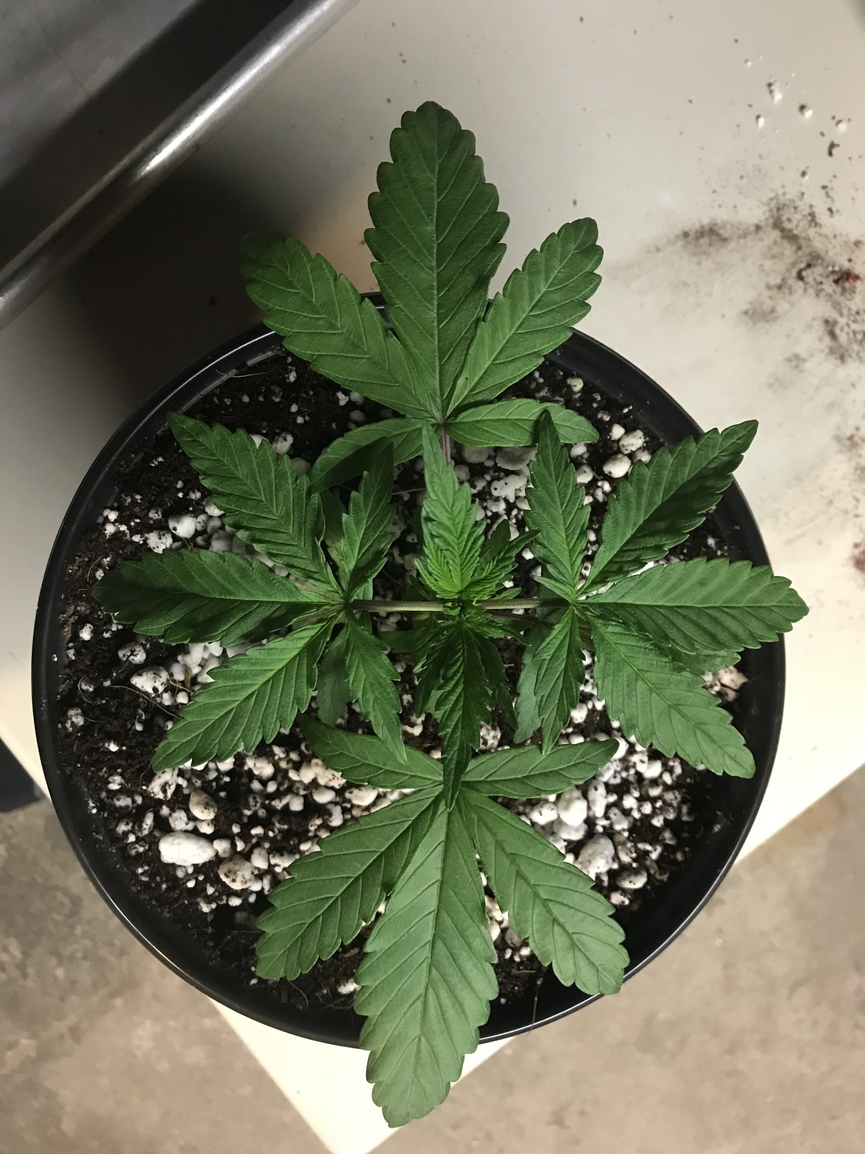
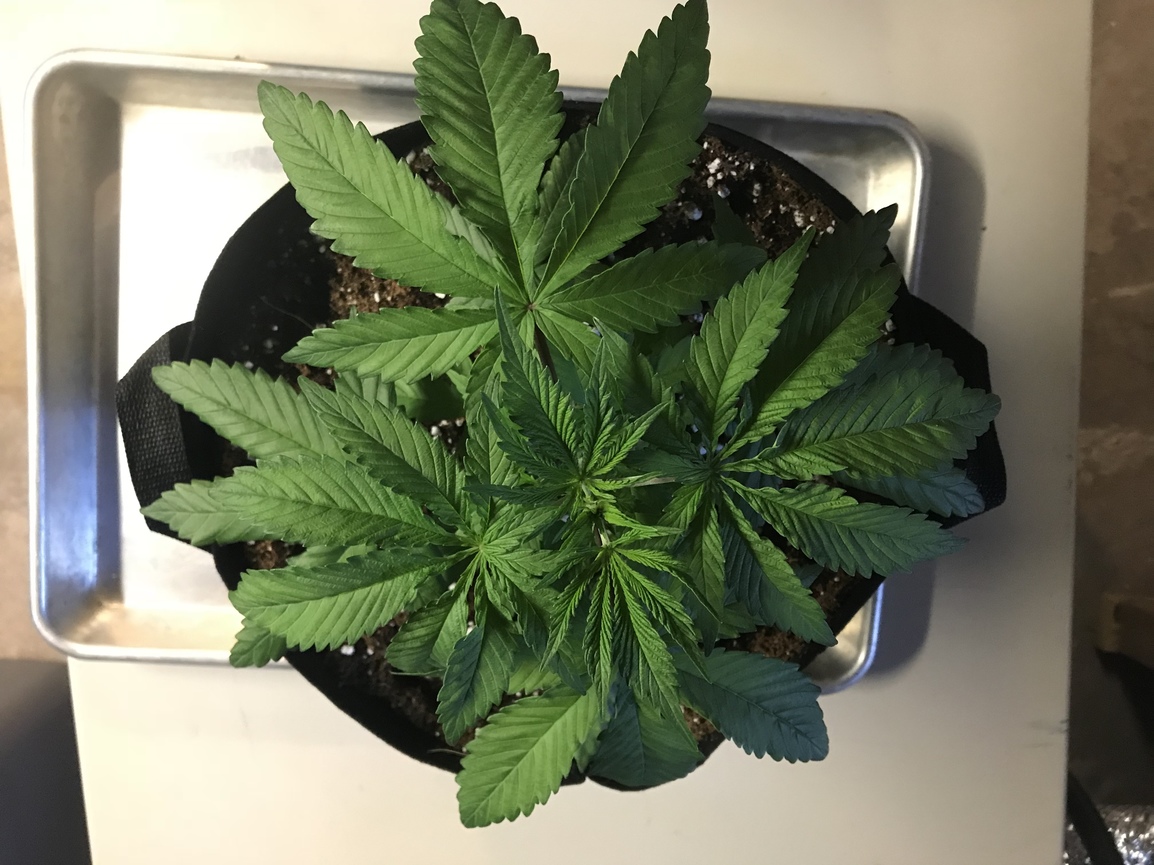
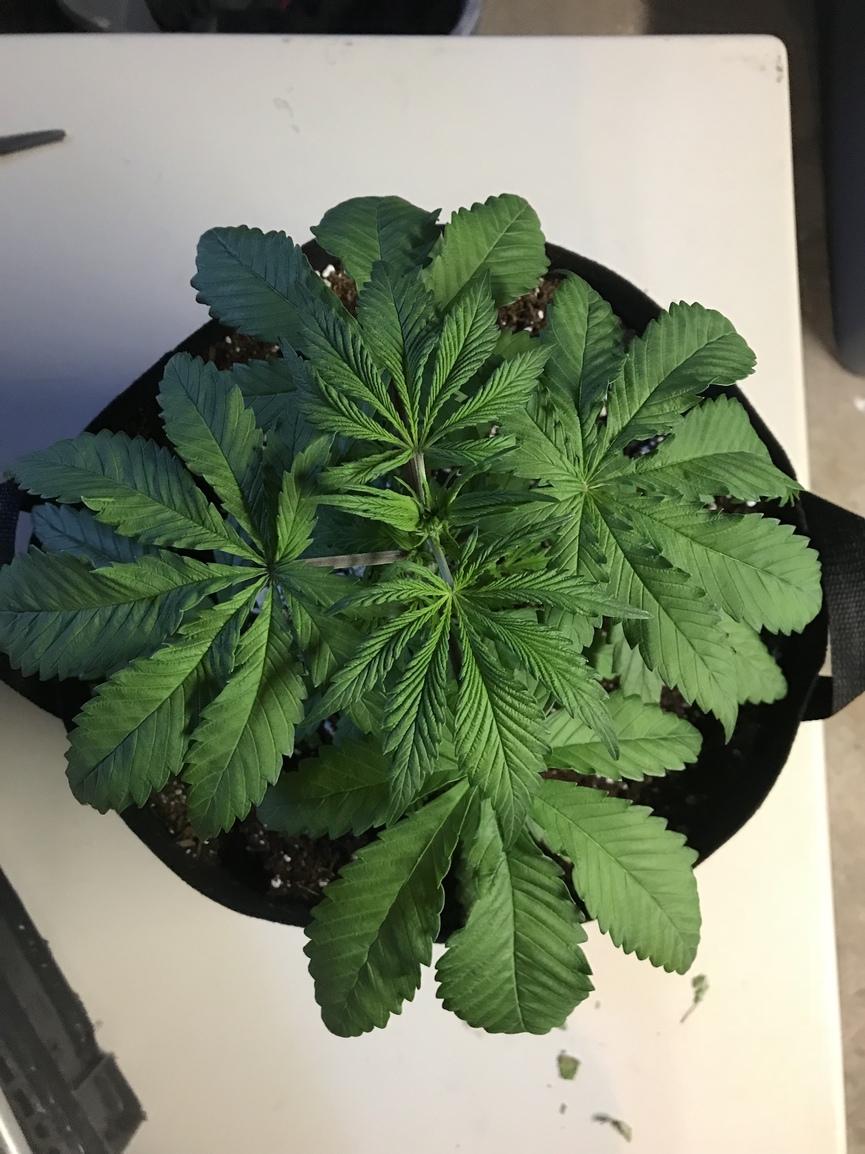
Starting to see pre flowers emerge
